Over the next few weeks, I will be sharing some modifications that we’ve made to the factory-default installation of various Jayco components.
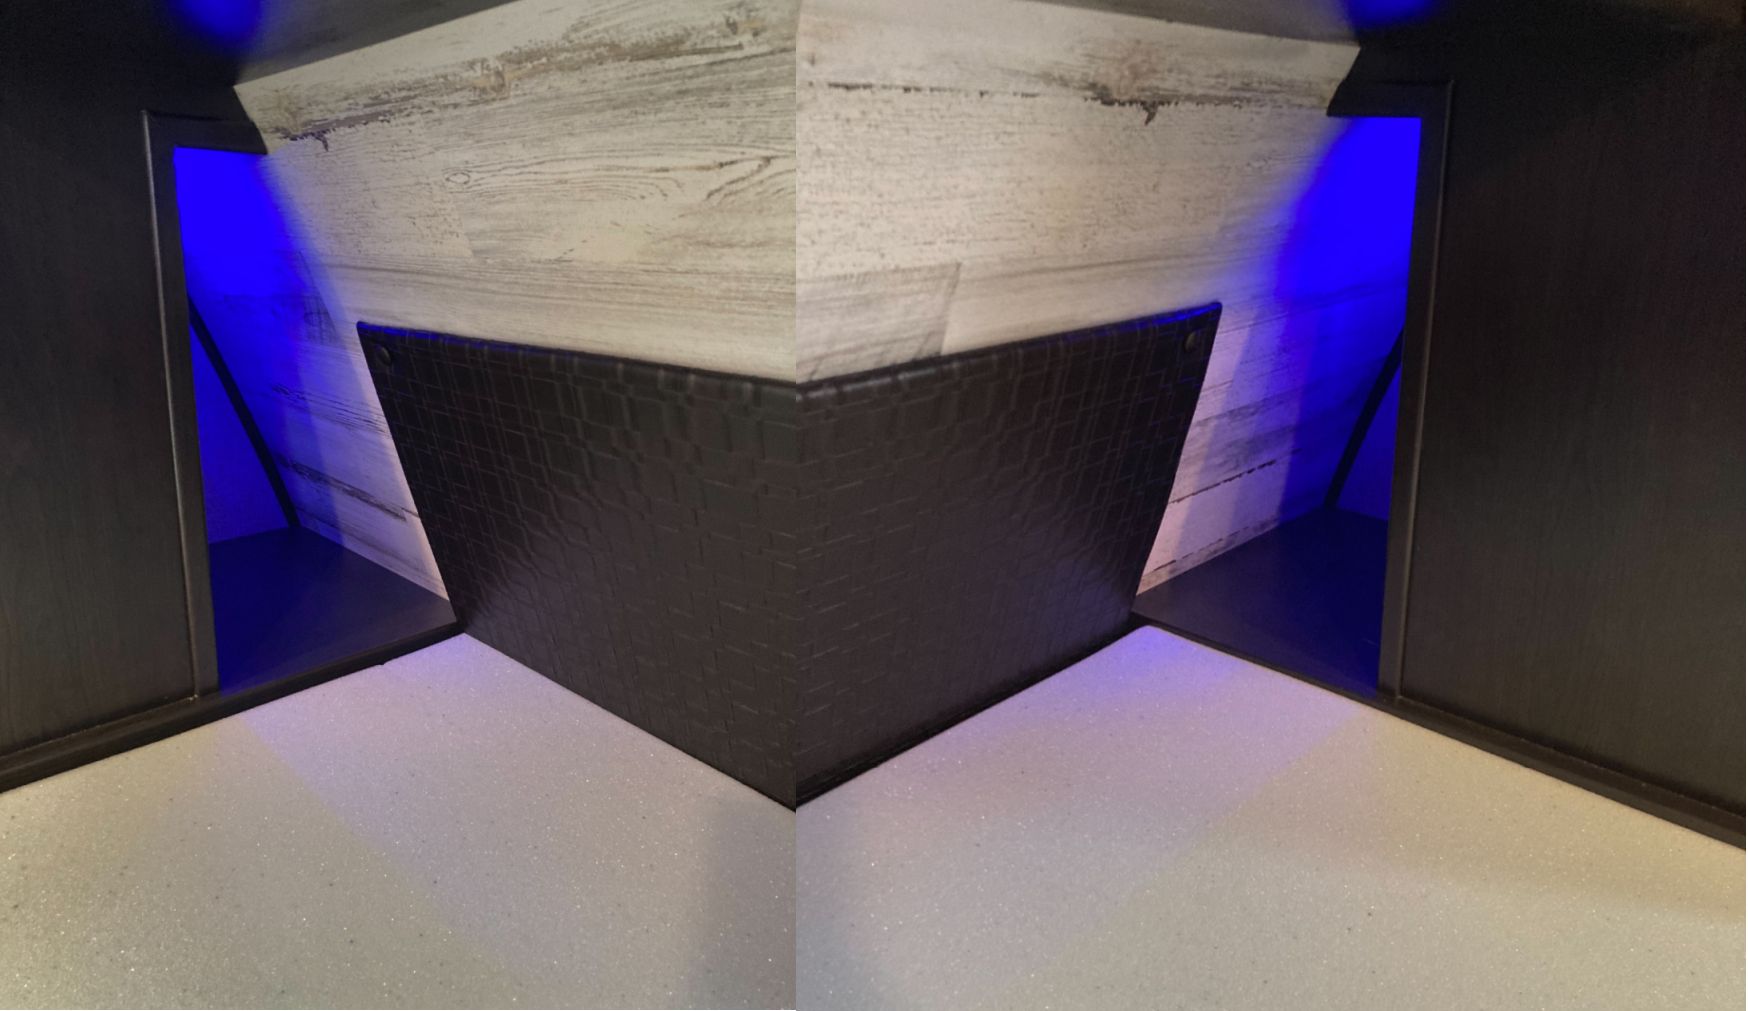
I recently wrote about adding an on/off switch to our IRV 36 entertainment system. After that was completed, we decided to rid ourselves of the blue LEDs that came pre-installed from the factory. For us, the blue LEDs look bad and for somebody who has worked years on the night shift standing next to or working under blue LED strobe lights they hurt my eyes. We also wanted to use the front cap LEDs, but the blue light was so bright that it reflected off of RVs on the other side of the RV park at night. We replaced the front cap LEDs with amber which will be shared in a future post.
Equipment used in this mod:
-
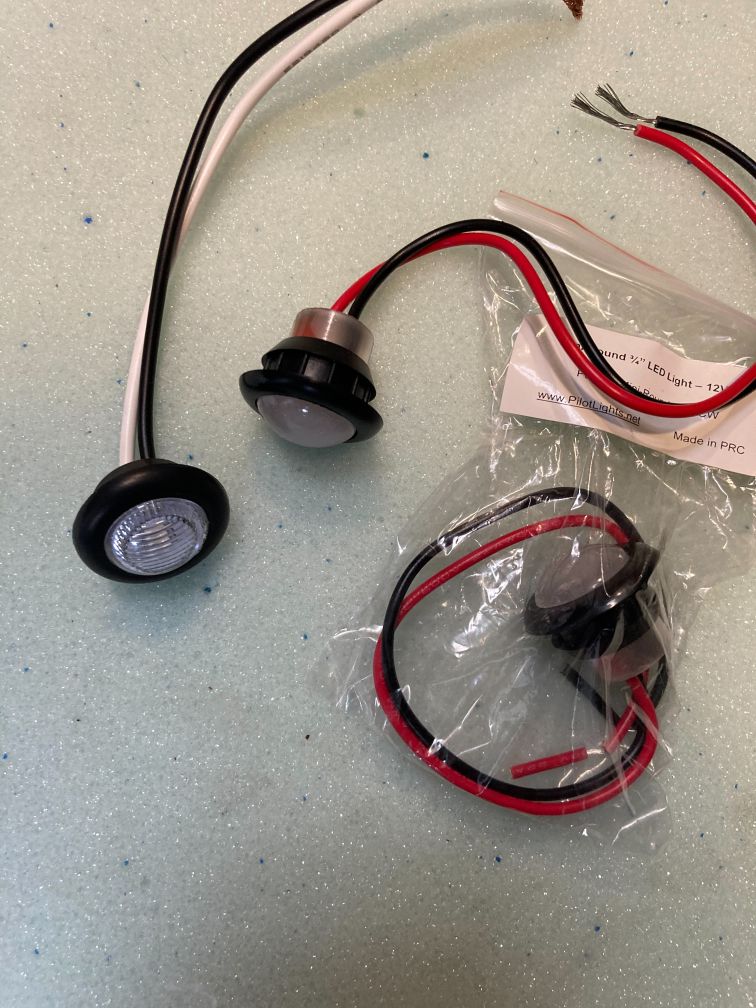
- LED lights from PilotLights.net – mini-round warm white
- You can also use these lights if the one above is out of stock or you wanted to swap out for amber or red. Tiny LED Accent and Courtesy Lamp.
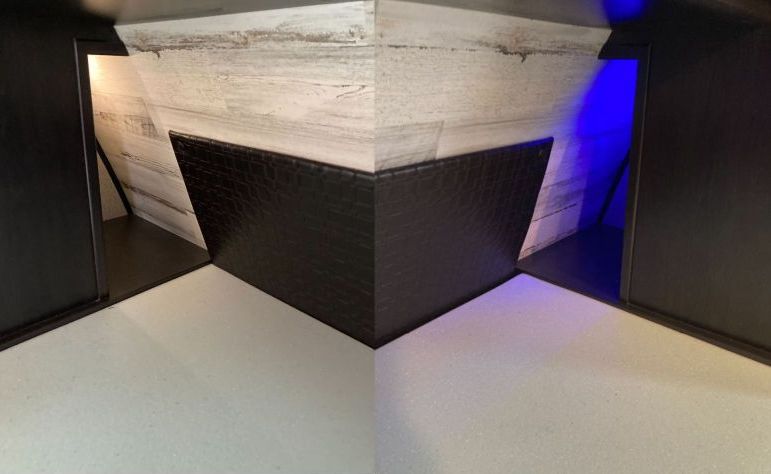
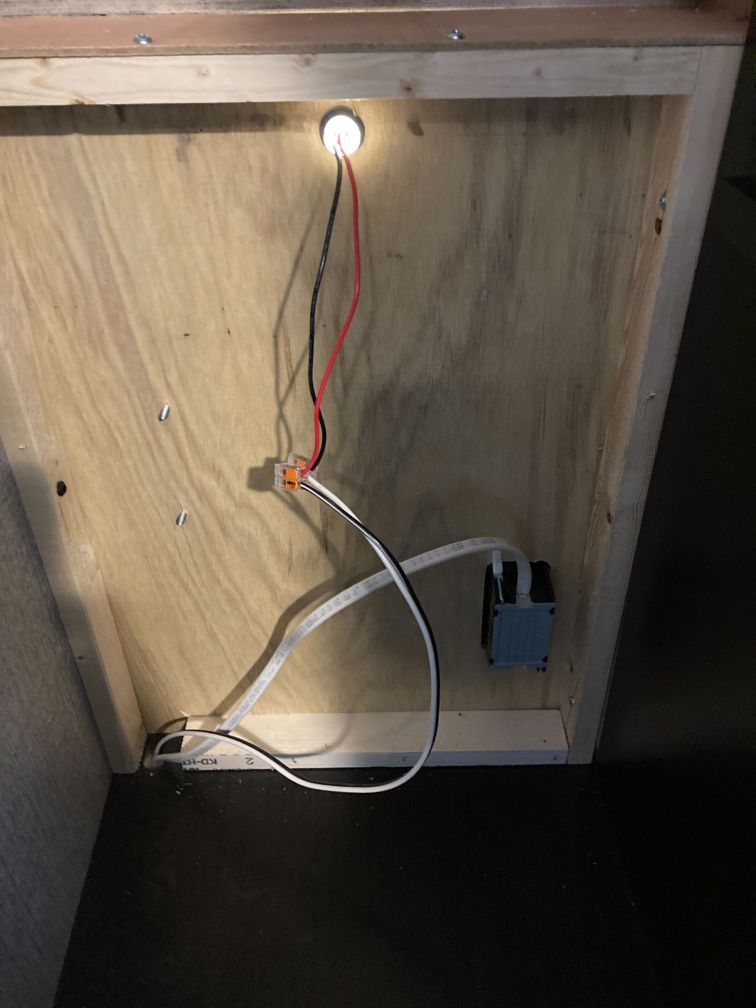
Let’s get to it. If you have a Jayco Jay Feather 24BH, and I’m sure similar Jayco models, the bedroom has a pocket behind the closet. Some folks refer to this space as a “CPAP machine pocket”. This pocket is illuminated with an on/off single blue LED.
These blue LEDs had no markings on them that I could trace back to the source meaning I was going to have a difficult time finding a direct replacement. Well, after many days of searching and talking to a few folks, I found out that the Jayco LEDs used on the 2021 Jay Feather 24BH are aircraft illumination lights which can be found at PilotLights.net.

I started by removing the shelf and panel backing in the two closets. These were held on with screws and brads. A flat-head screwdriver was enough to pull the panels off. Once removed, I was greeted by a very simple installation.
I carefully pushed the blue LED out of the panel board. Be sure to remove the LED and the rubber grommet holding it in place. Once I had the LED removed from the panel board, I disconnected the positive and negative wires from the quick connects.
Really important note: while red is usually associated with positive + and black is usually associated with negative -, this isn’t always the case. Use a voltage meter or polarity tester to determine the proper polarity of your wires. I have seen many instances in our RV alone where the wire color is not matched to the polarity.
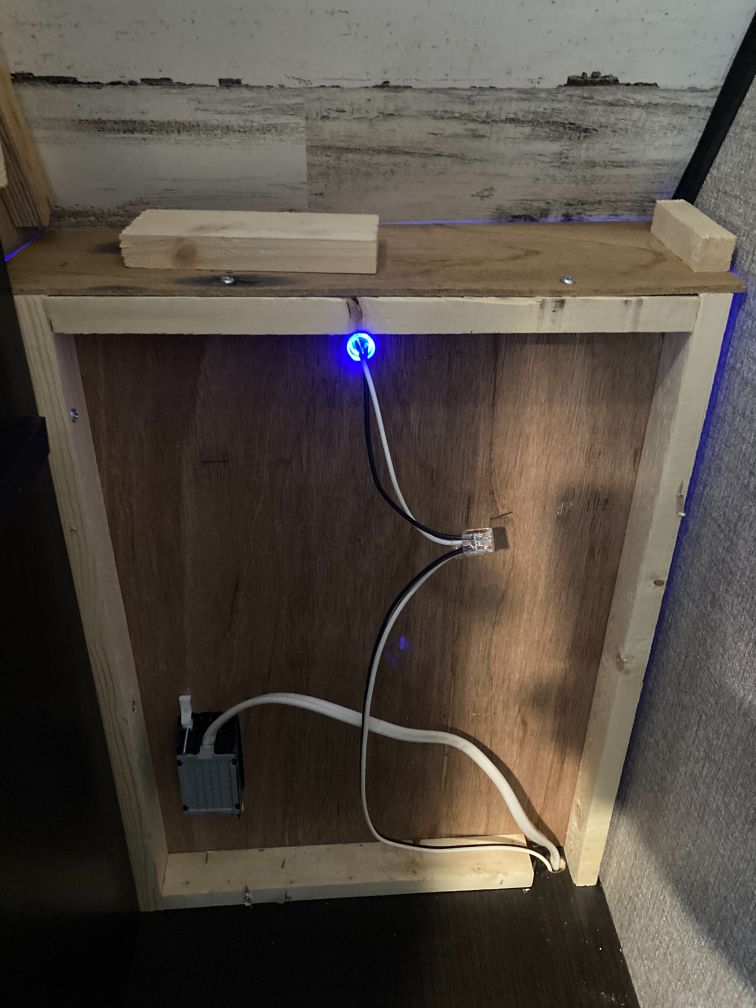
After removing the blue LEDs, I carefully installed the new warm white LEDs. After ensuring proper polarity, I connected the LEDs to the factory quick connects and powered the lights on using the built-in switch*.
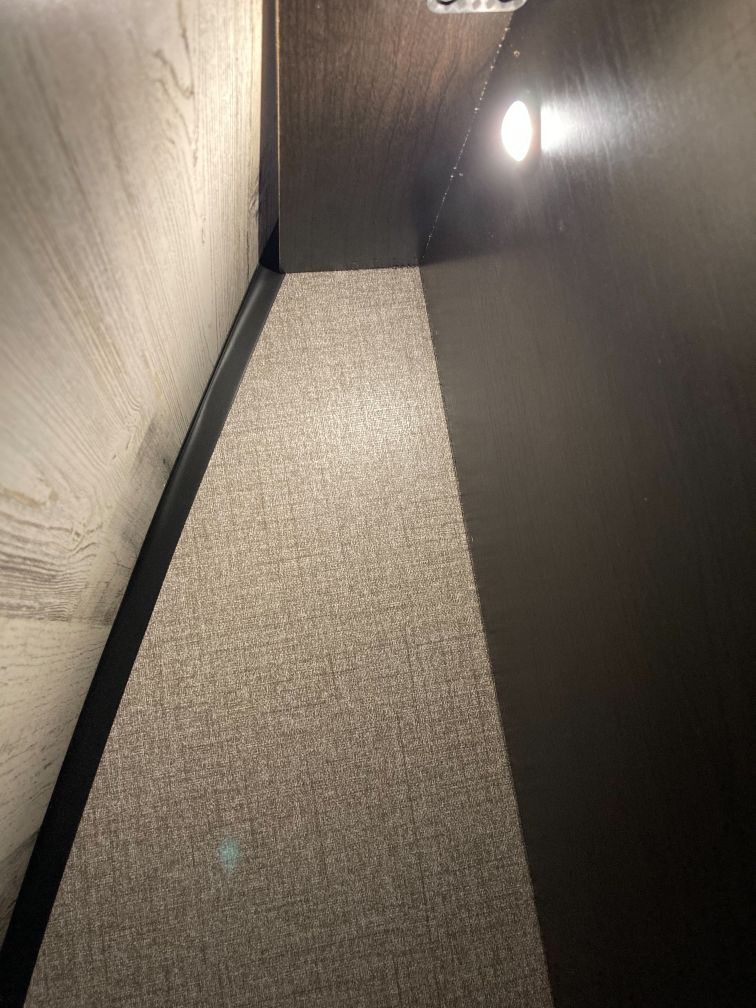
 I carefully replaced the backing paneling and shared the results with the wife who was very happy to have a nice, warm reading light at night.
Good luck on your journey to #MakeItYourOwn!
One thought on “Changing our Jayco Jay Feather interior blue LEDs to white”