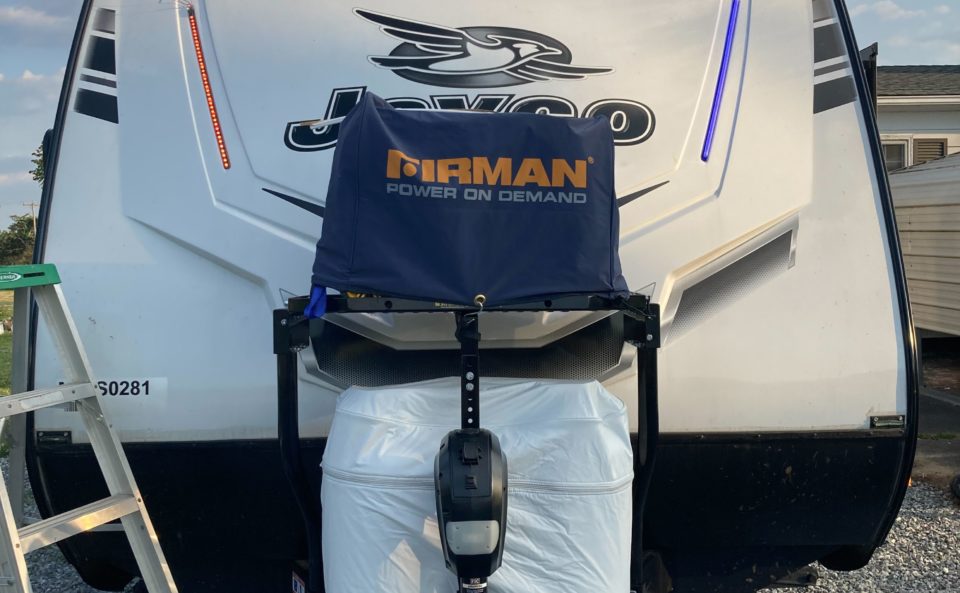
In part 1, I explained how to replace the two forward facing blue button LEDs with amber LEDs. In this post, I’ll explain how to replace the LED strips. Let’s get started!
Equipment used in this post:
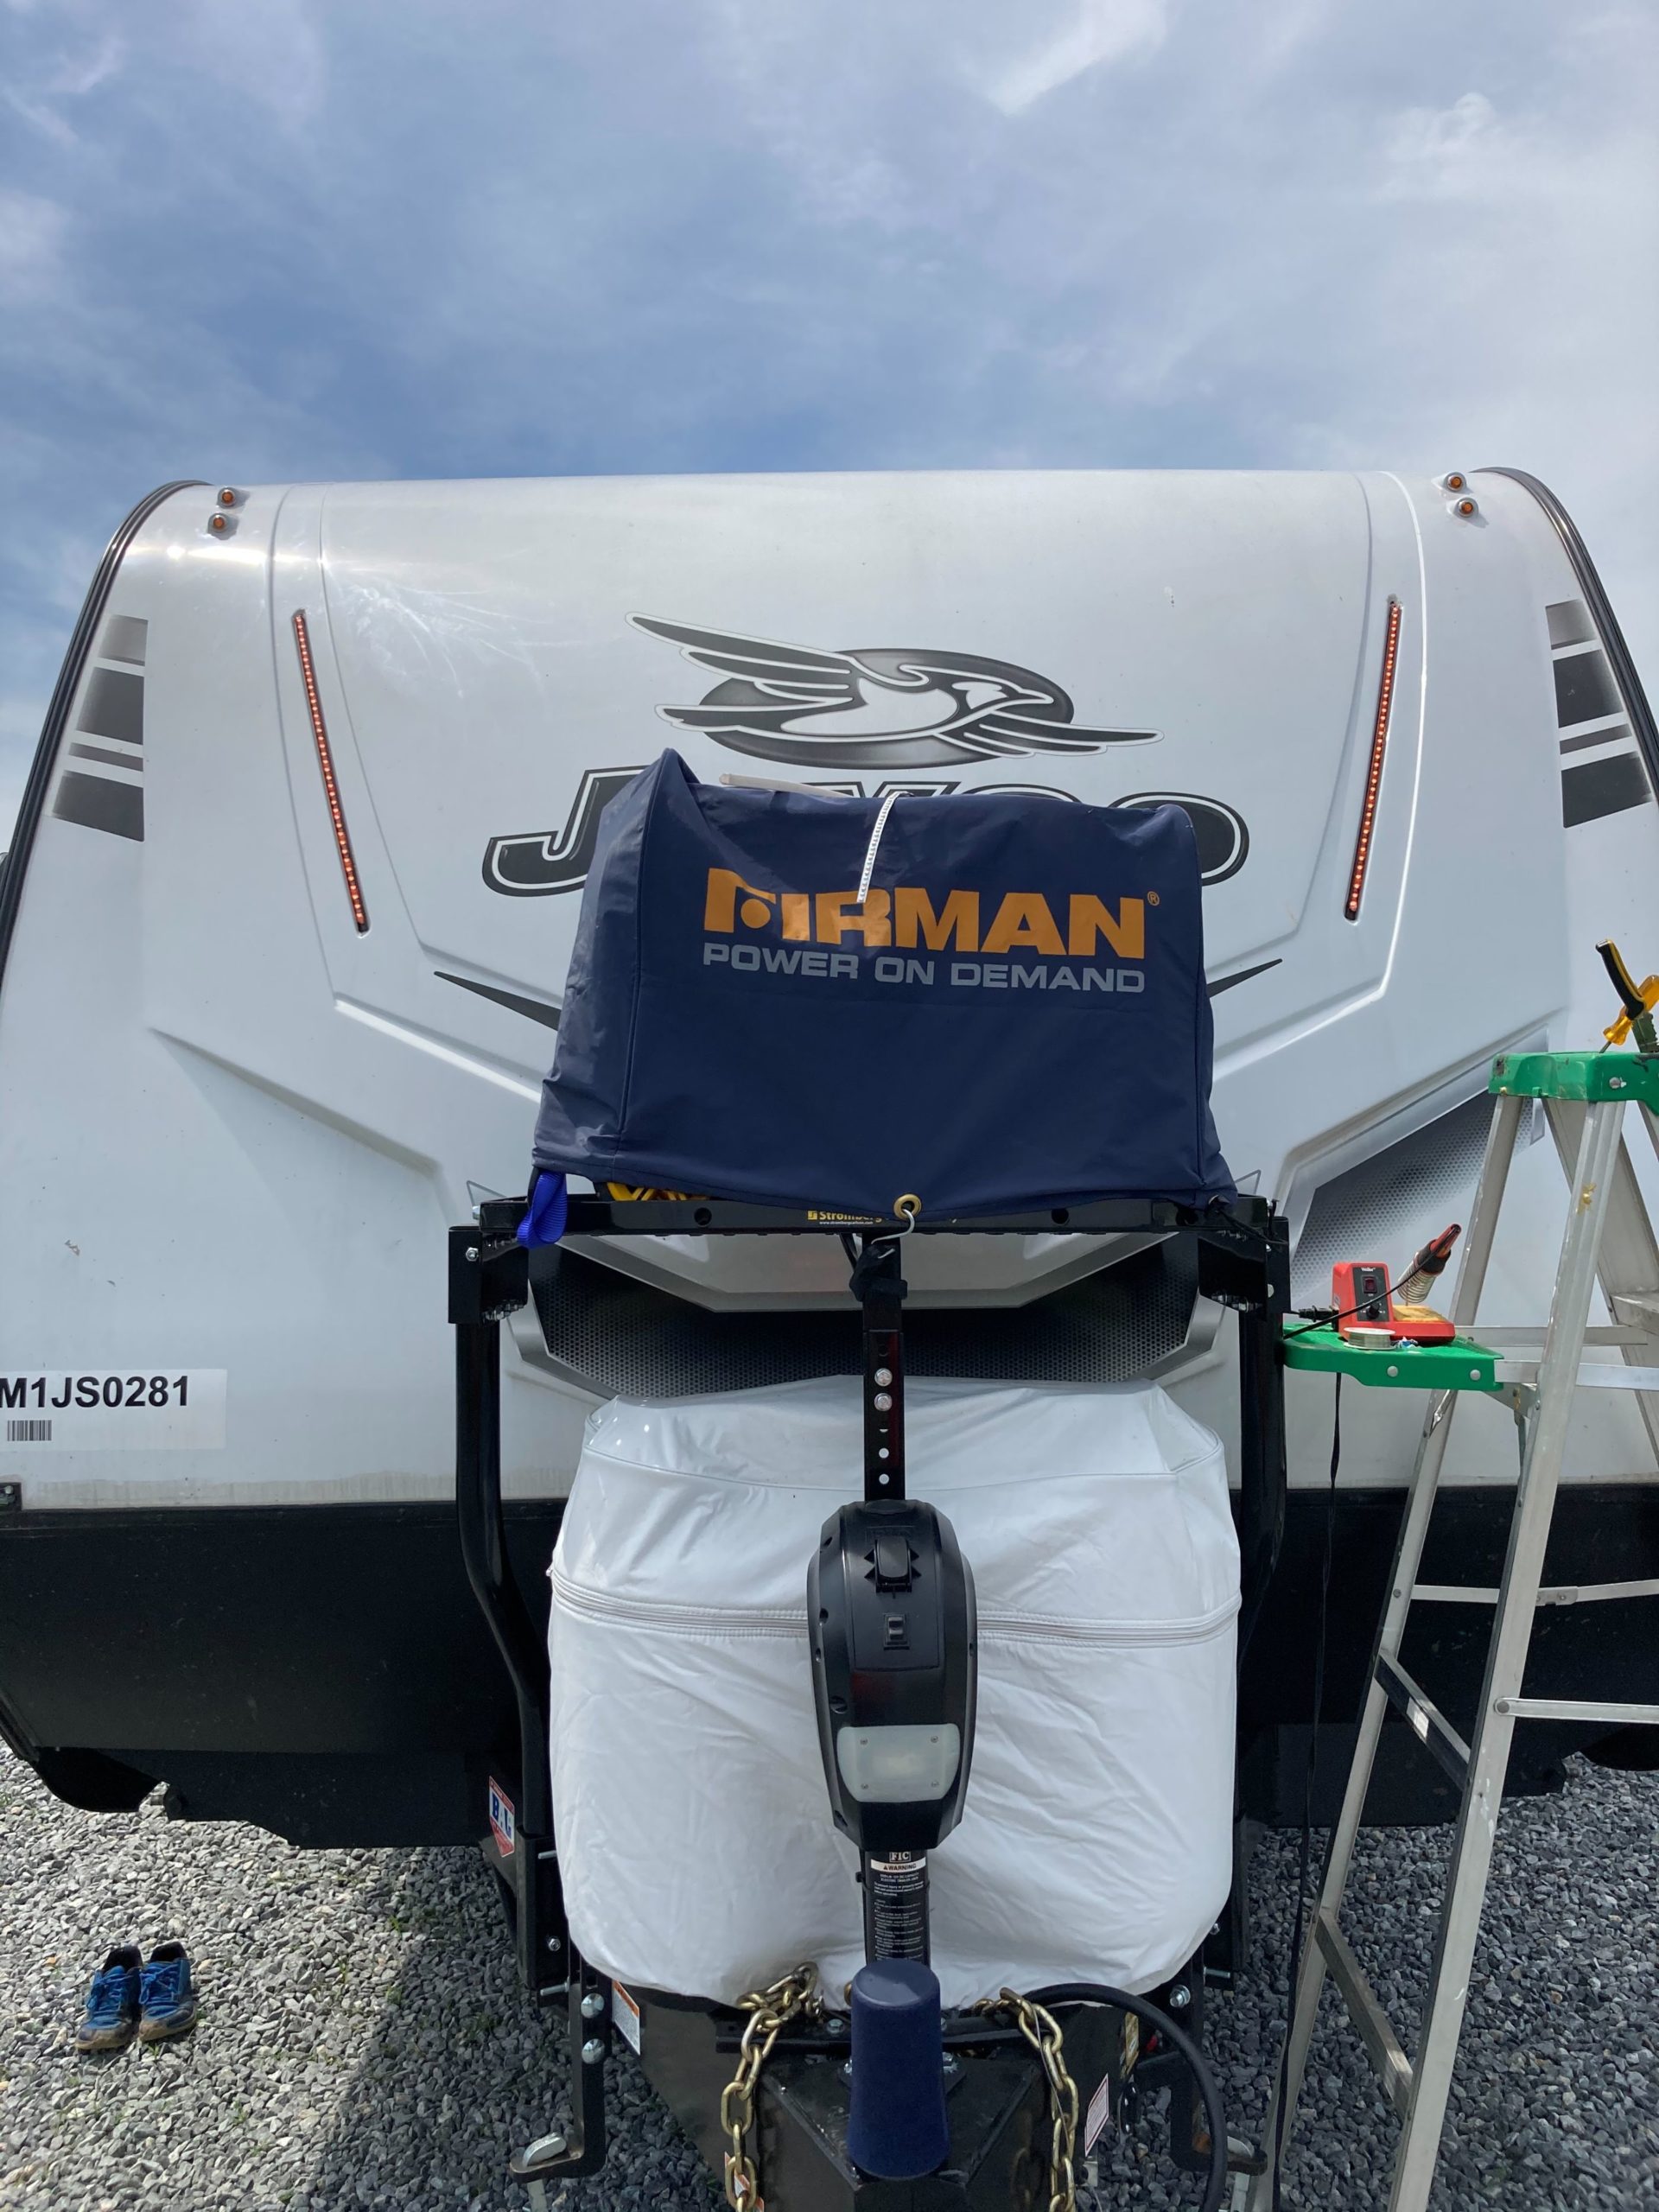
I pulled the LED strips out of my Jay Feather to get an idea on how complex the re-install would be. What I discovered was promising. The LED strips on the 2021 Jay Feather 24BH were small, flexible PCB board strips slid into a light scattering white strip. The flexible white strip secured into the front cap mount using a tongue and groove approach.
 I measured the length of the LED strip and headed on over to BoogeyLights to order the size needed for my install. The two light kits that came close to my install were a 42-LED strip at 27.75 inches and a 39-LED strip at 25.75″. I needed a 26″ strip so I ordered the longer version and cut three LEDs off which I’ll show below.
When I initially ordered the strip, I ordered the black PCB version with a “smoke” tint. When the unit arrived, the tint was clear and not smoke. I called BoogeyLights customer service and they confirmed that smoke was not available for the amber strip and corrected the issue on their website. In hindsight, had I known smoke wasn’t available, I would have ordered a white PCB version to match the travel trailer. I’m still happy with the result. BoogeyLights also sells multi-colored LED strips and controllers which would require additional setup and install. I really wanted to go multi-color, but I had no desire to deconstruct the end cap or interior wall behind the end cap.
Some other options on the strip that I ordered:
- 42 LED – 27.75″ strip
- Amber LEDs
- Smoke tint (have to select clear by default)
- 2 power leads (positive and negative)
- Default power lead length
- PCB color black (would have chosen white)
- No controller option (going for plug and play)
- No adhesion promoter
- Quantity 2

Once the new strips arrived, I bench tested both strips using a 9 volt battery per their instructions and as a best practice. I had one LED that was bad and BoogeyLights overnighted a new unit to me. I tested the lights a second time before install.
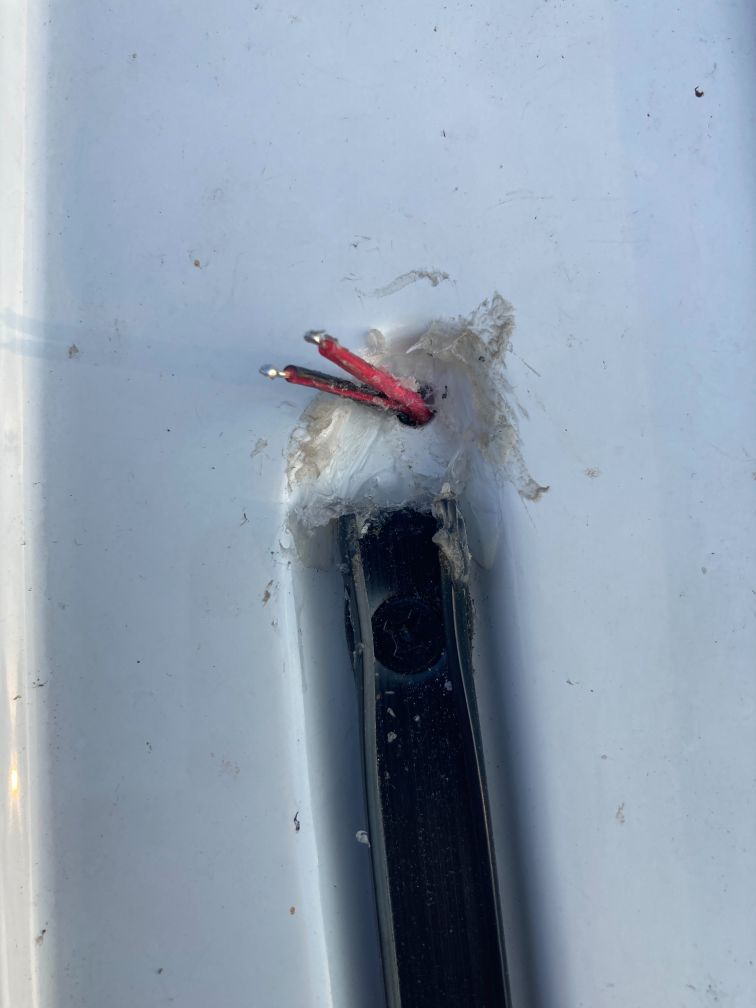
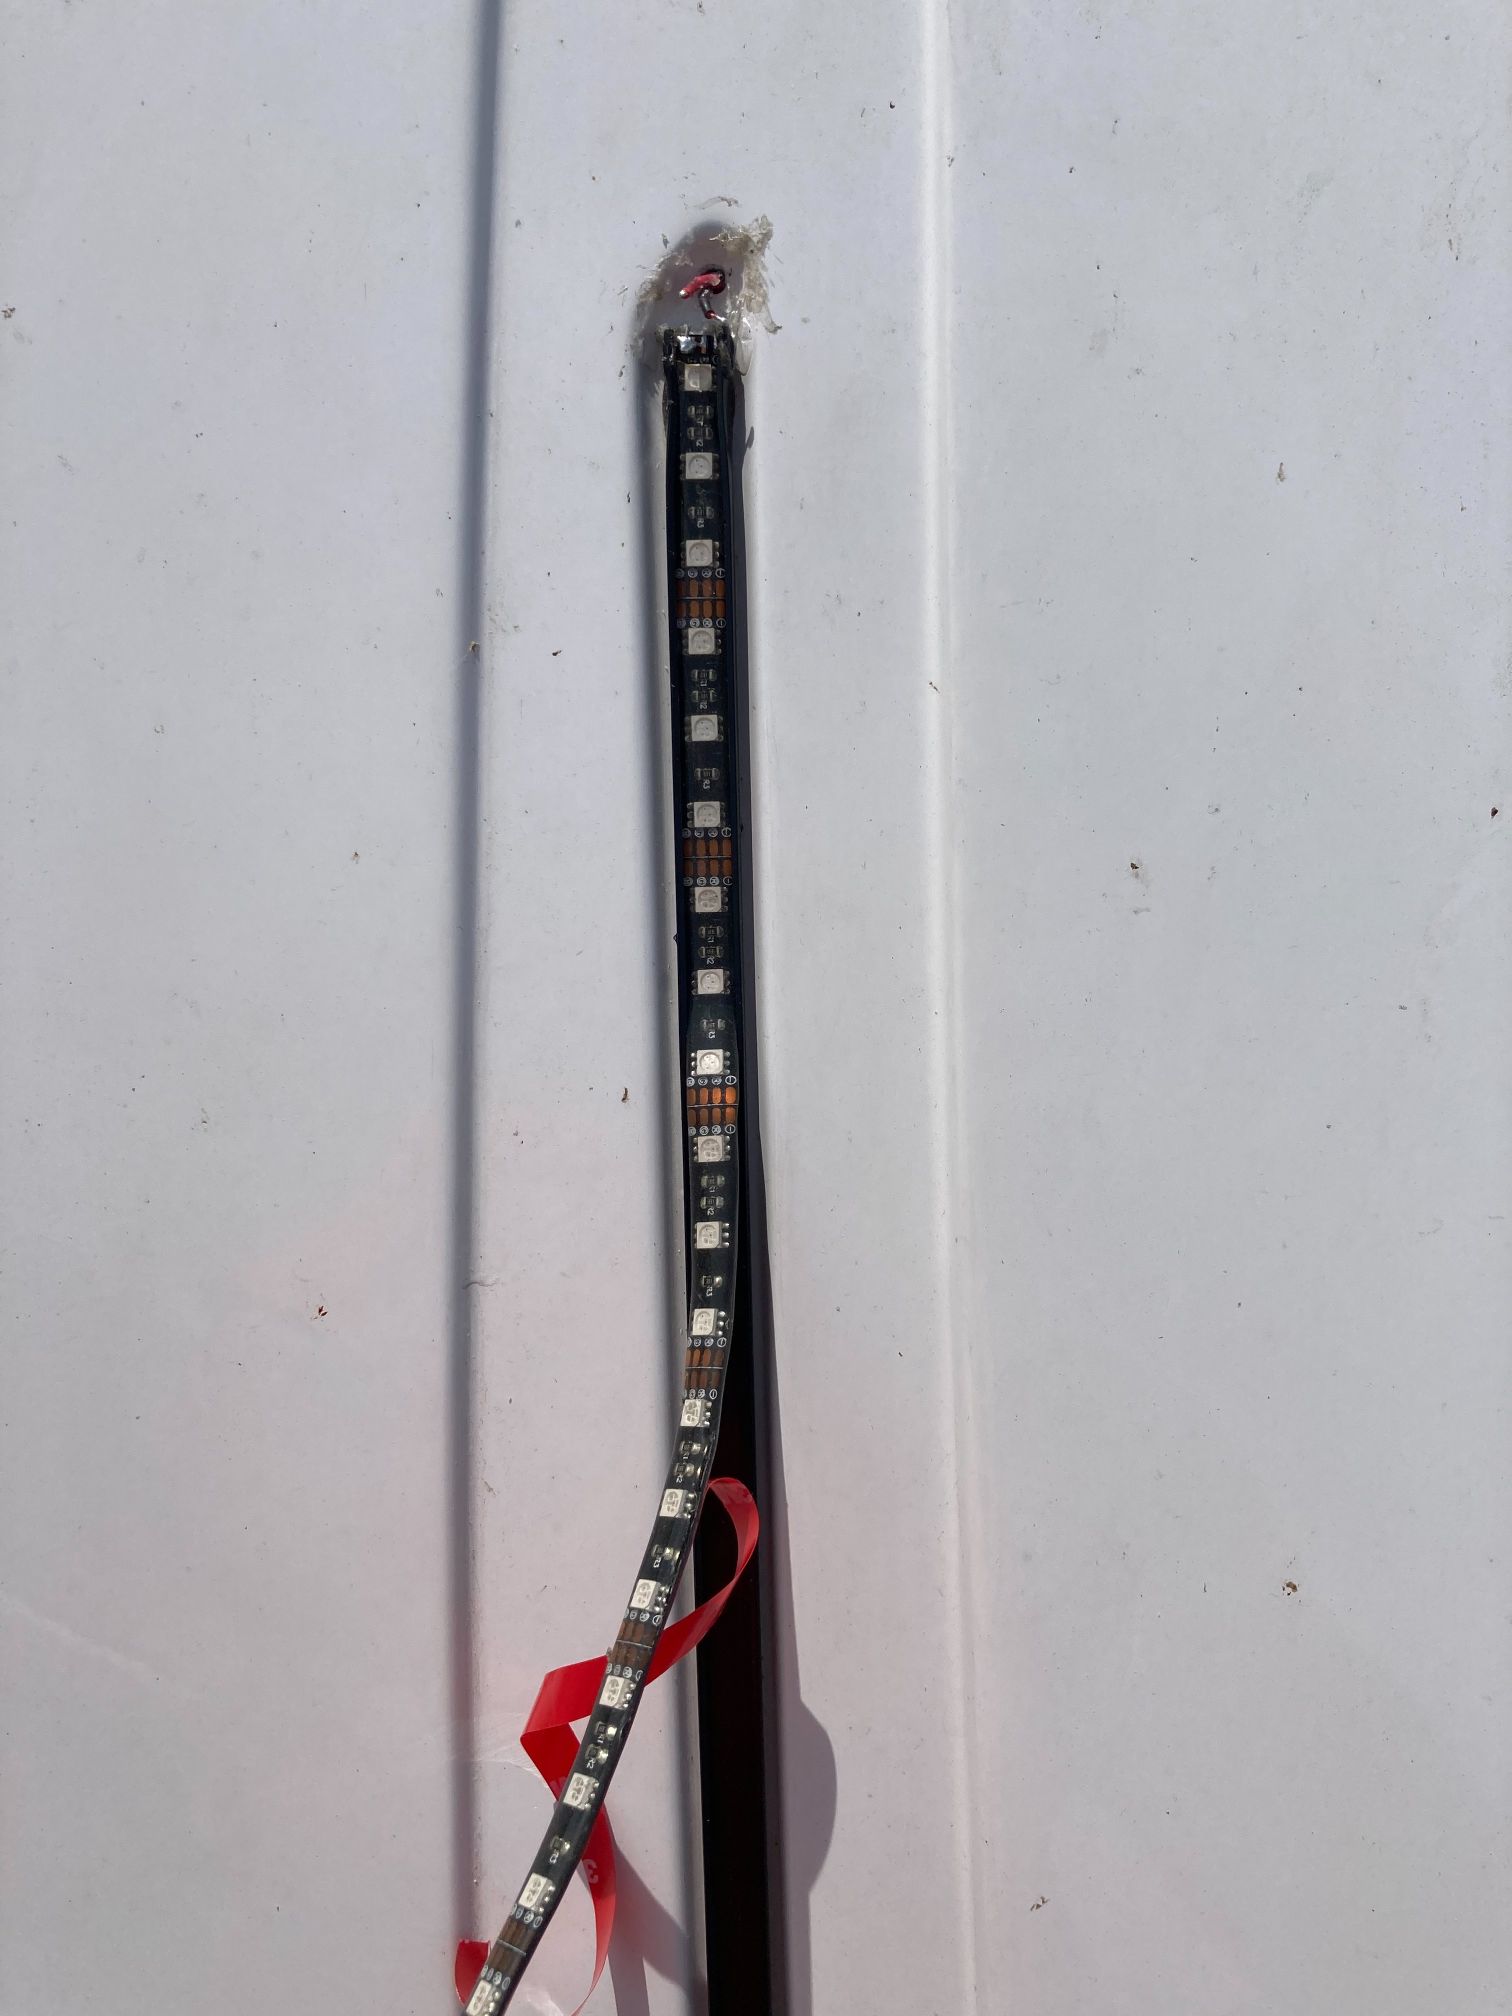
 I carefully removed the existing factory LED strips and the silicone(?) “goop” that was covering the drill hole for the power wires.
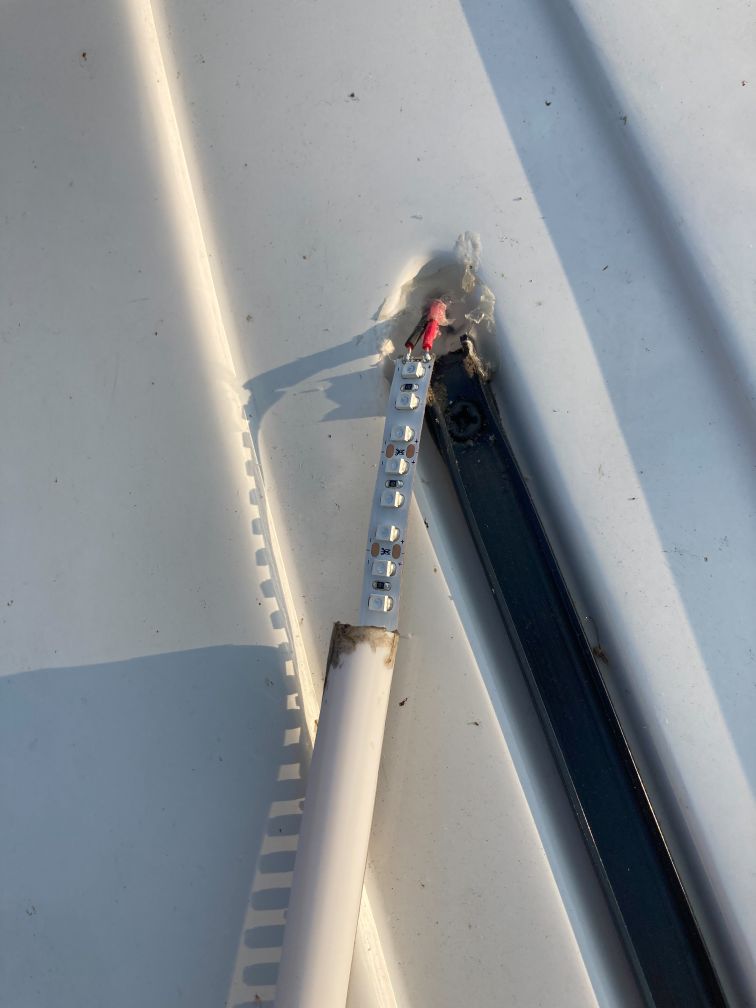
 Here is where it got a bit tricky. Unlike the button LEDs at the bottom, the strip LEDs had a tiny hole through the front cap. I couldn’t add butt crimps or wire splices to the new lights so I went the route of solder. I was extra careful to pop the soldered connection off of the existing strip.
 Back to the workshop. I knew I had to trim the new LED strip and, from dry fitting, I knew that the factory “BoogeyLight” rubber cover on the end would need to be removed for fitness and to access the PCB board for soldering.
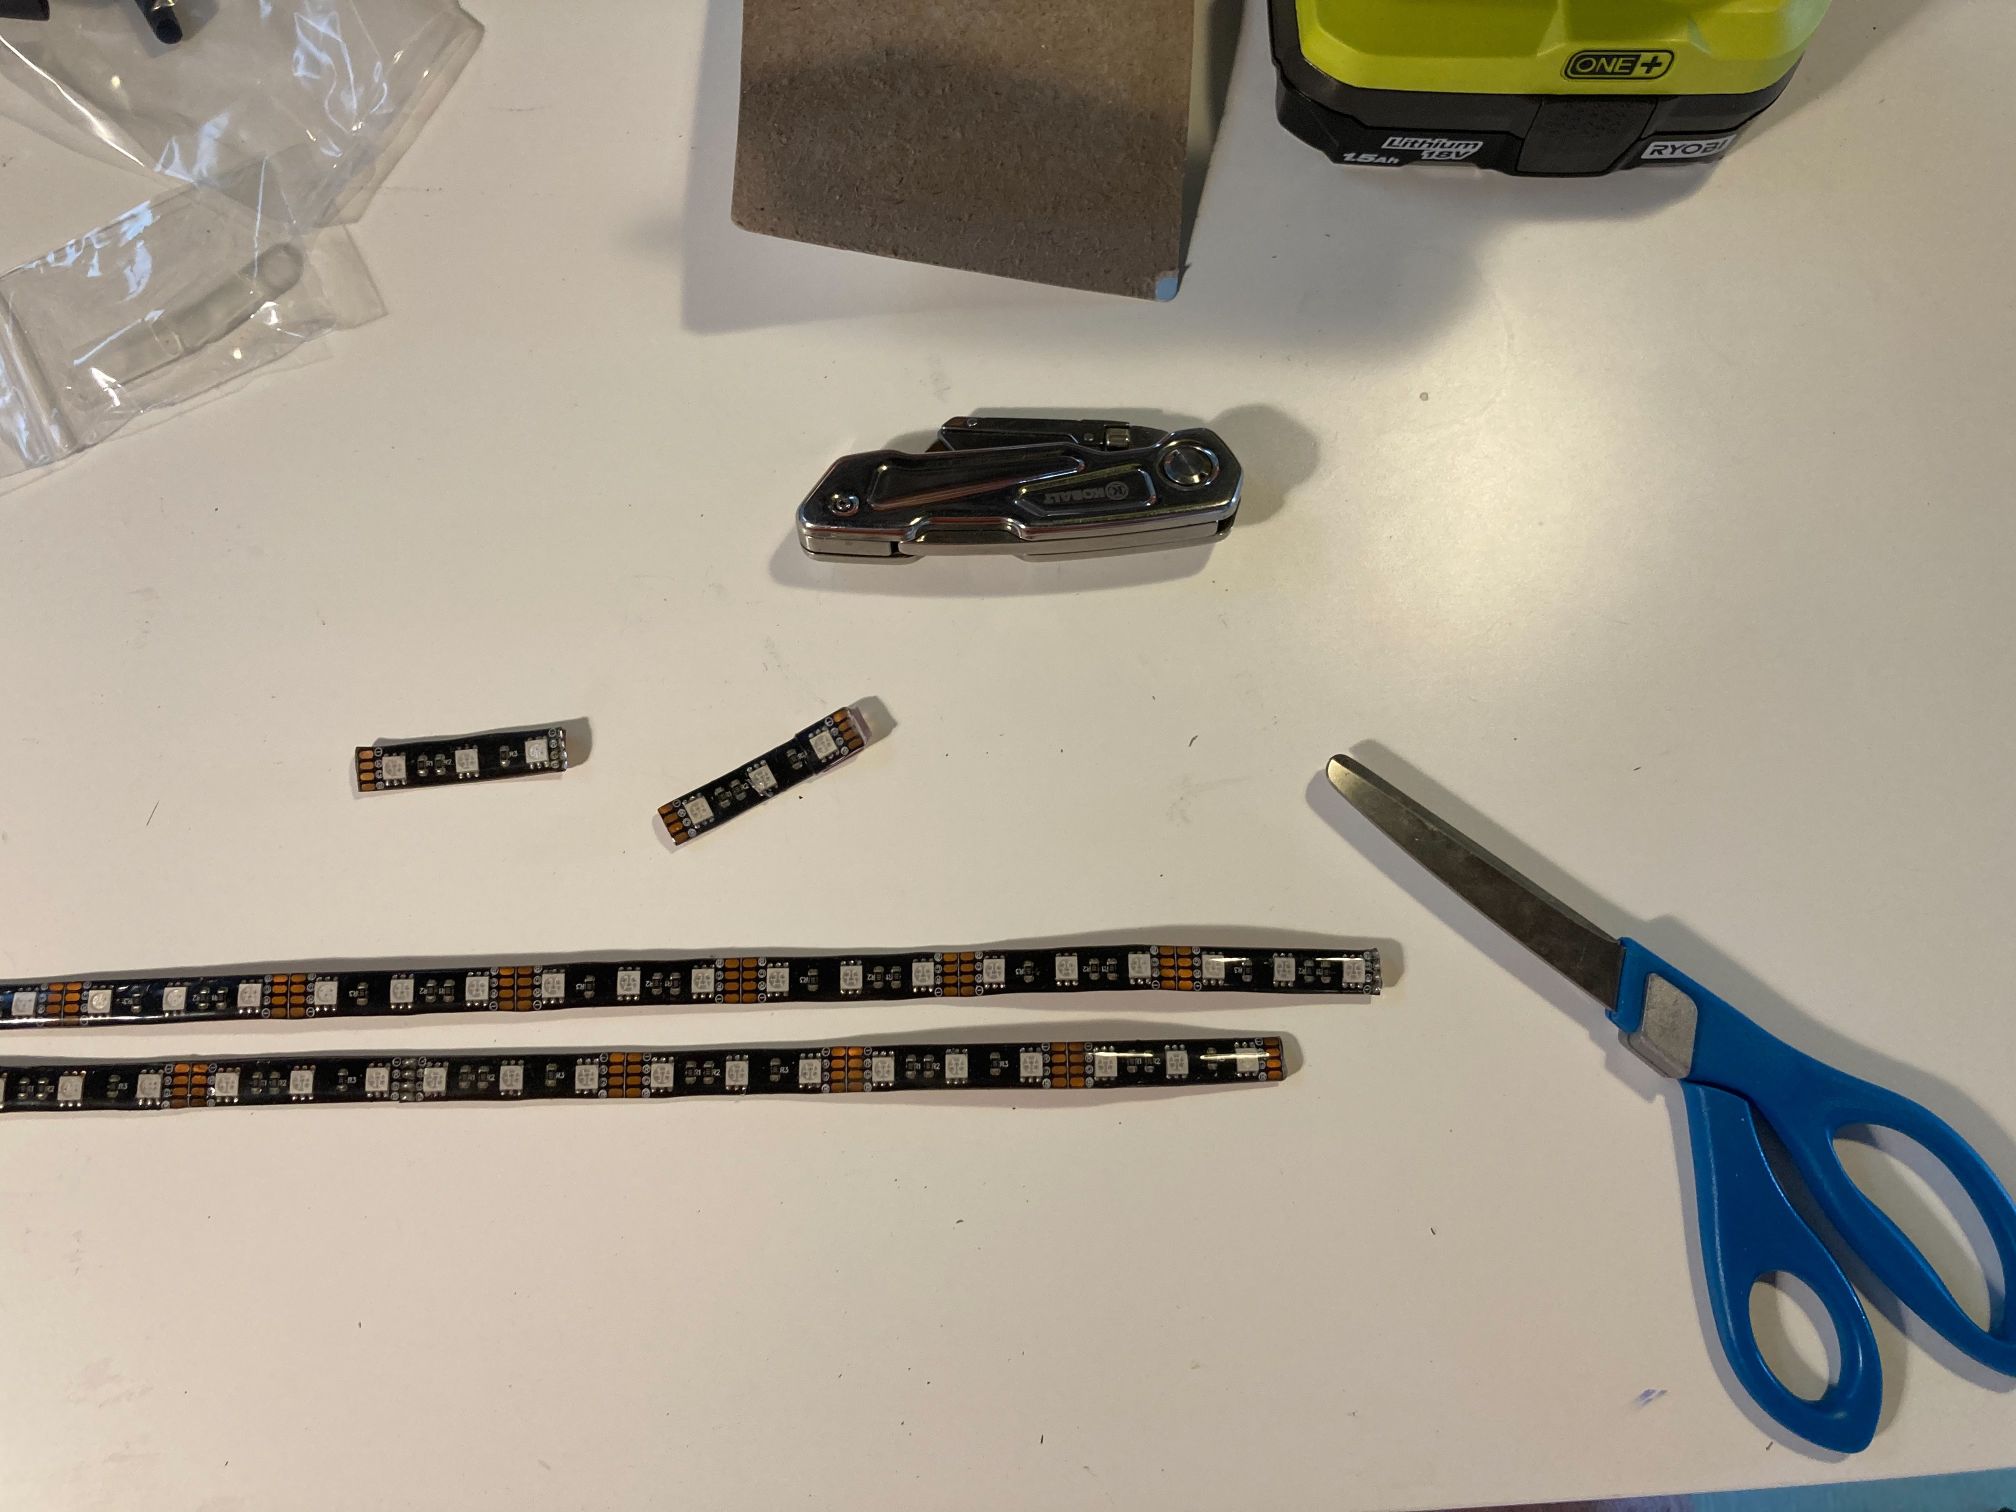 When you shorten these strips, you want to cut where the sections are connected (the copper or silver colored junctions). Don’t cut in any random place.
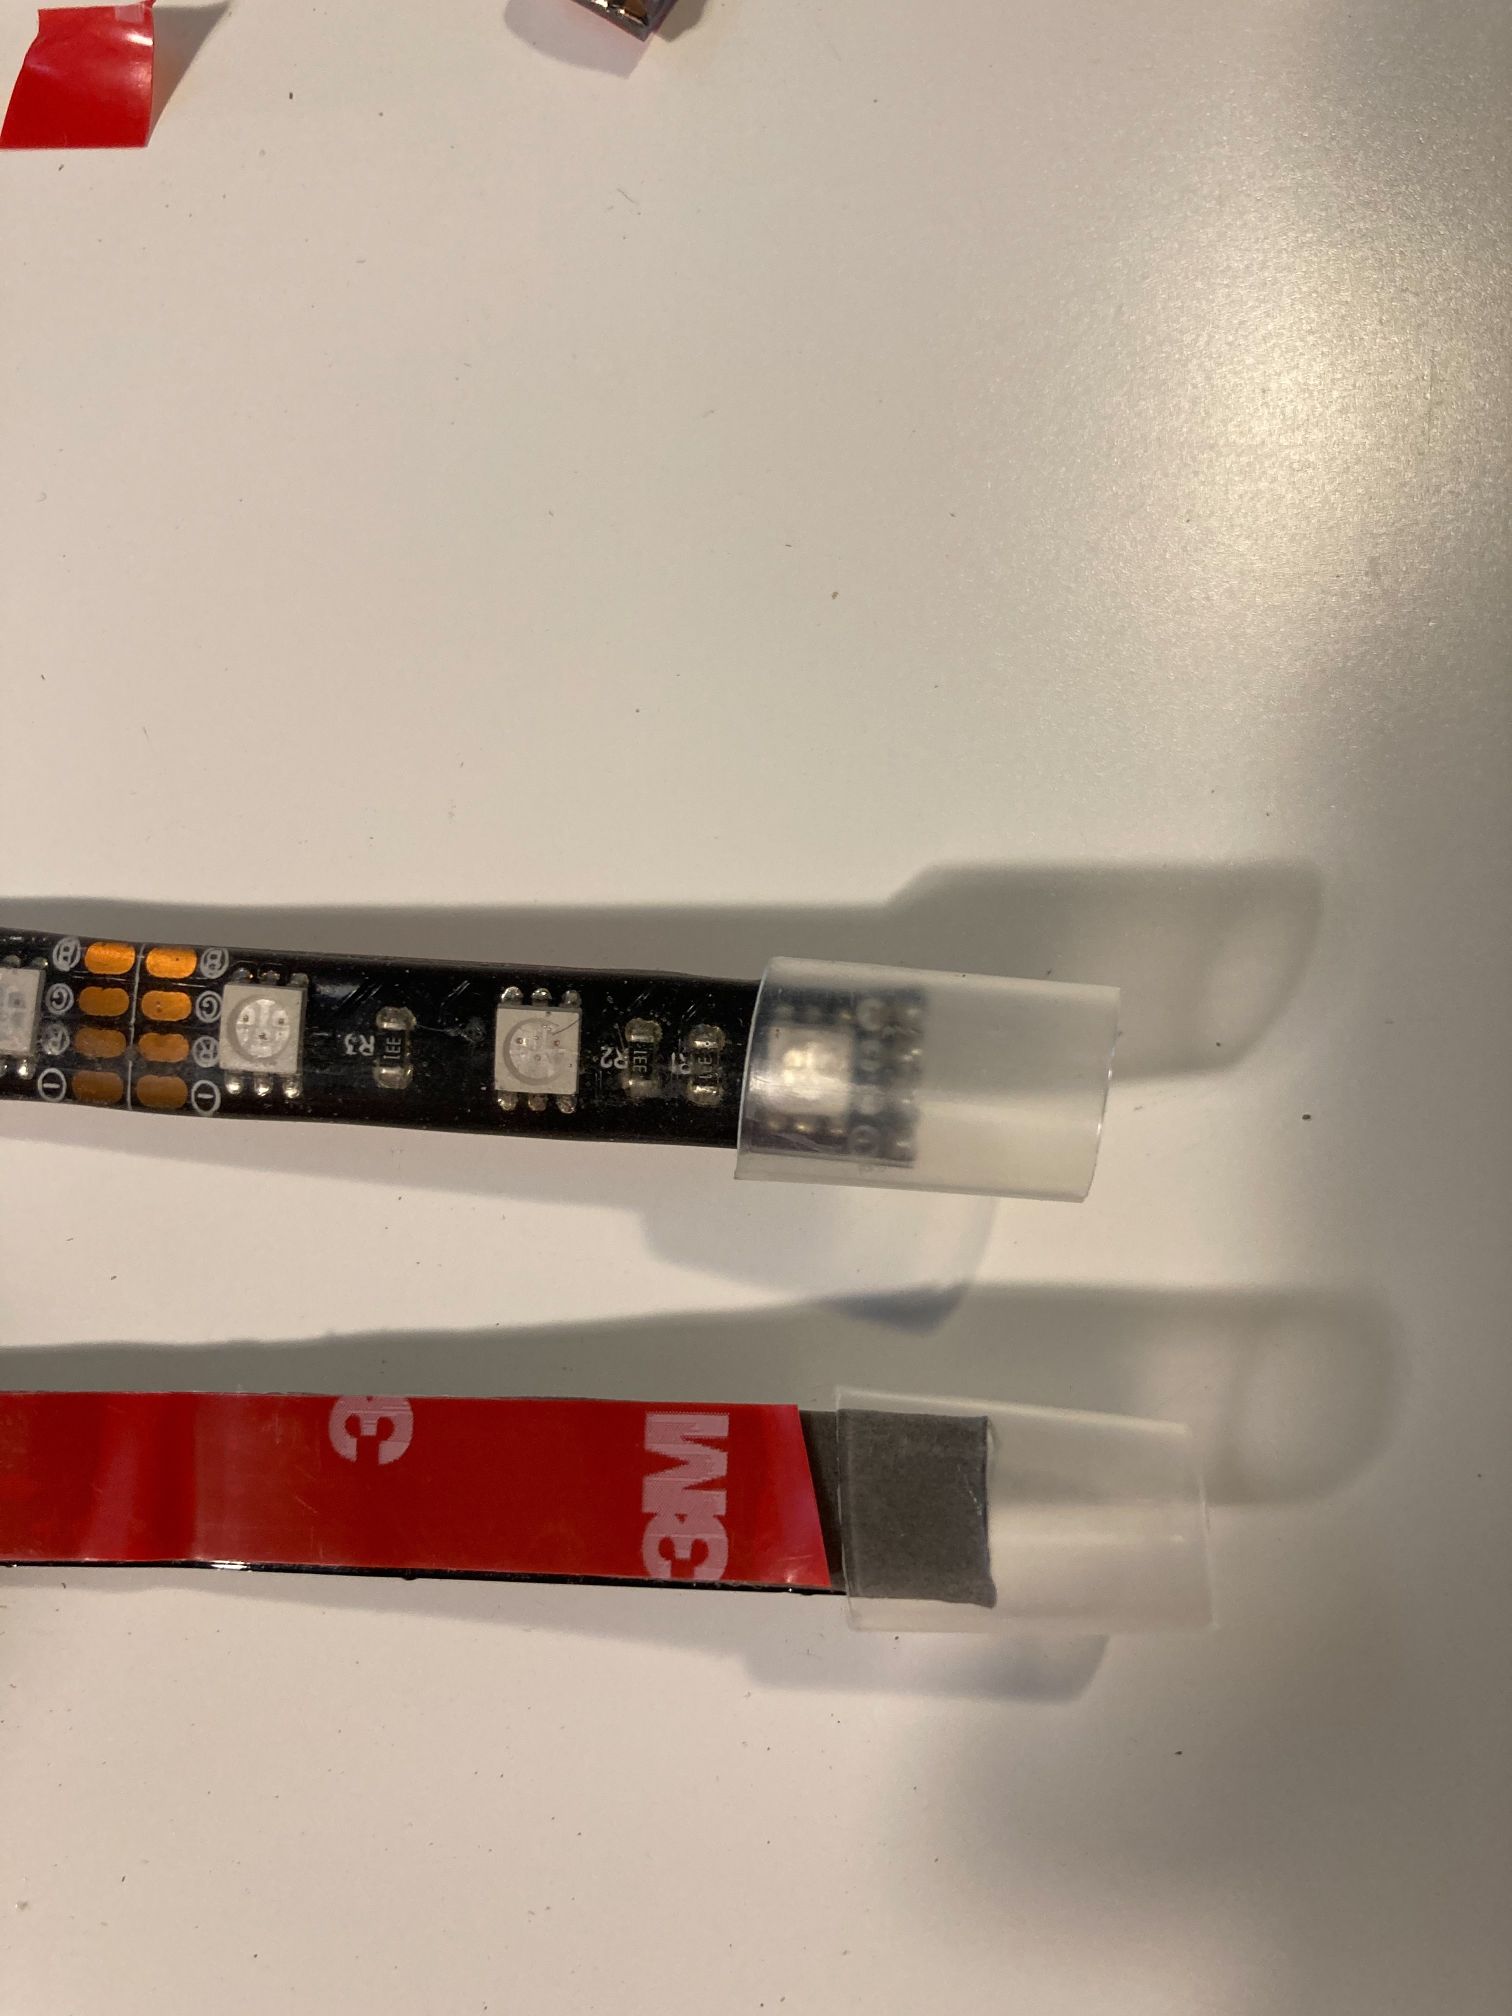
Once I shortened the strip, I slid the supplied clear heat shrink tube on the end. I filled the end with hot glue, let it cool to the touch, then used a heat gun to shrink the tube. This gave me a watertight connection and a nice, clean appearance.

 Once I finished with capping the end, I tested for functionality.
 On to the install!
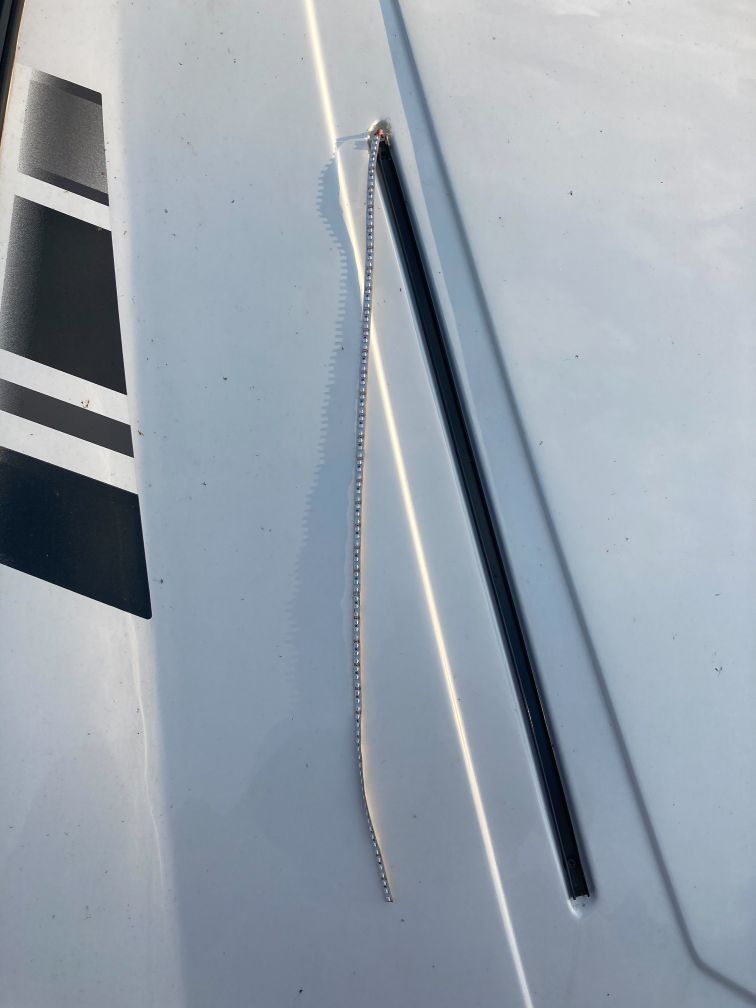
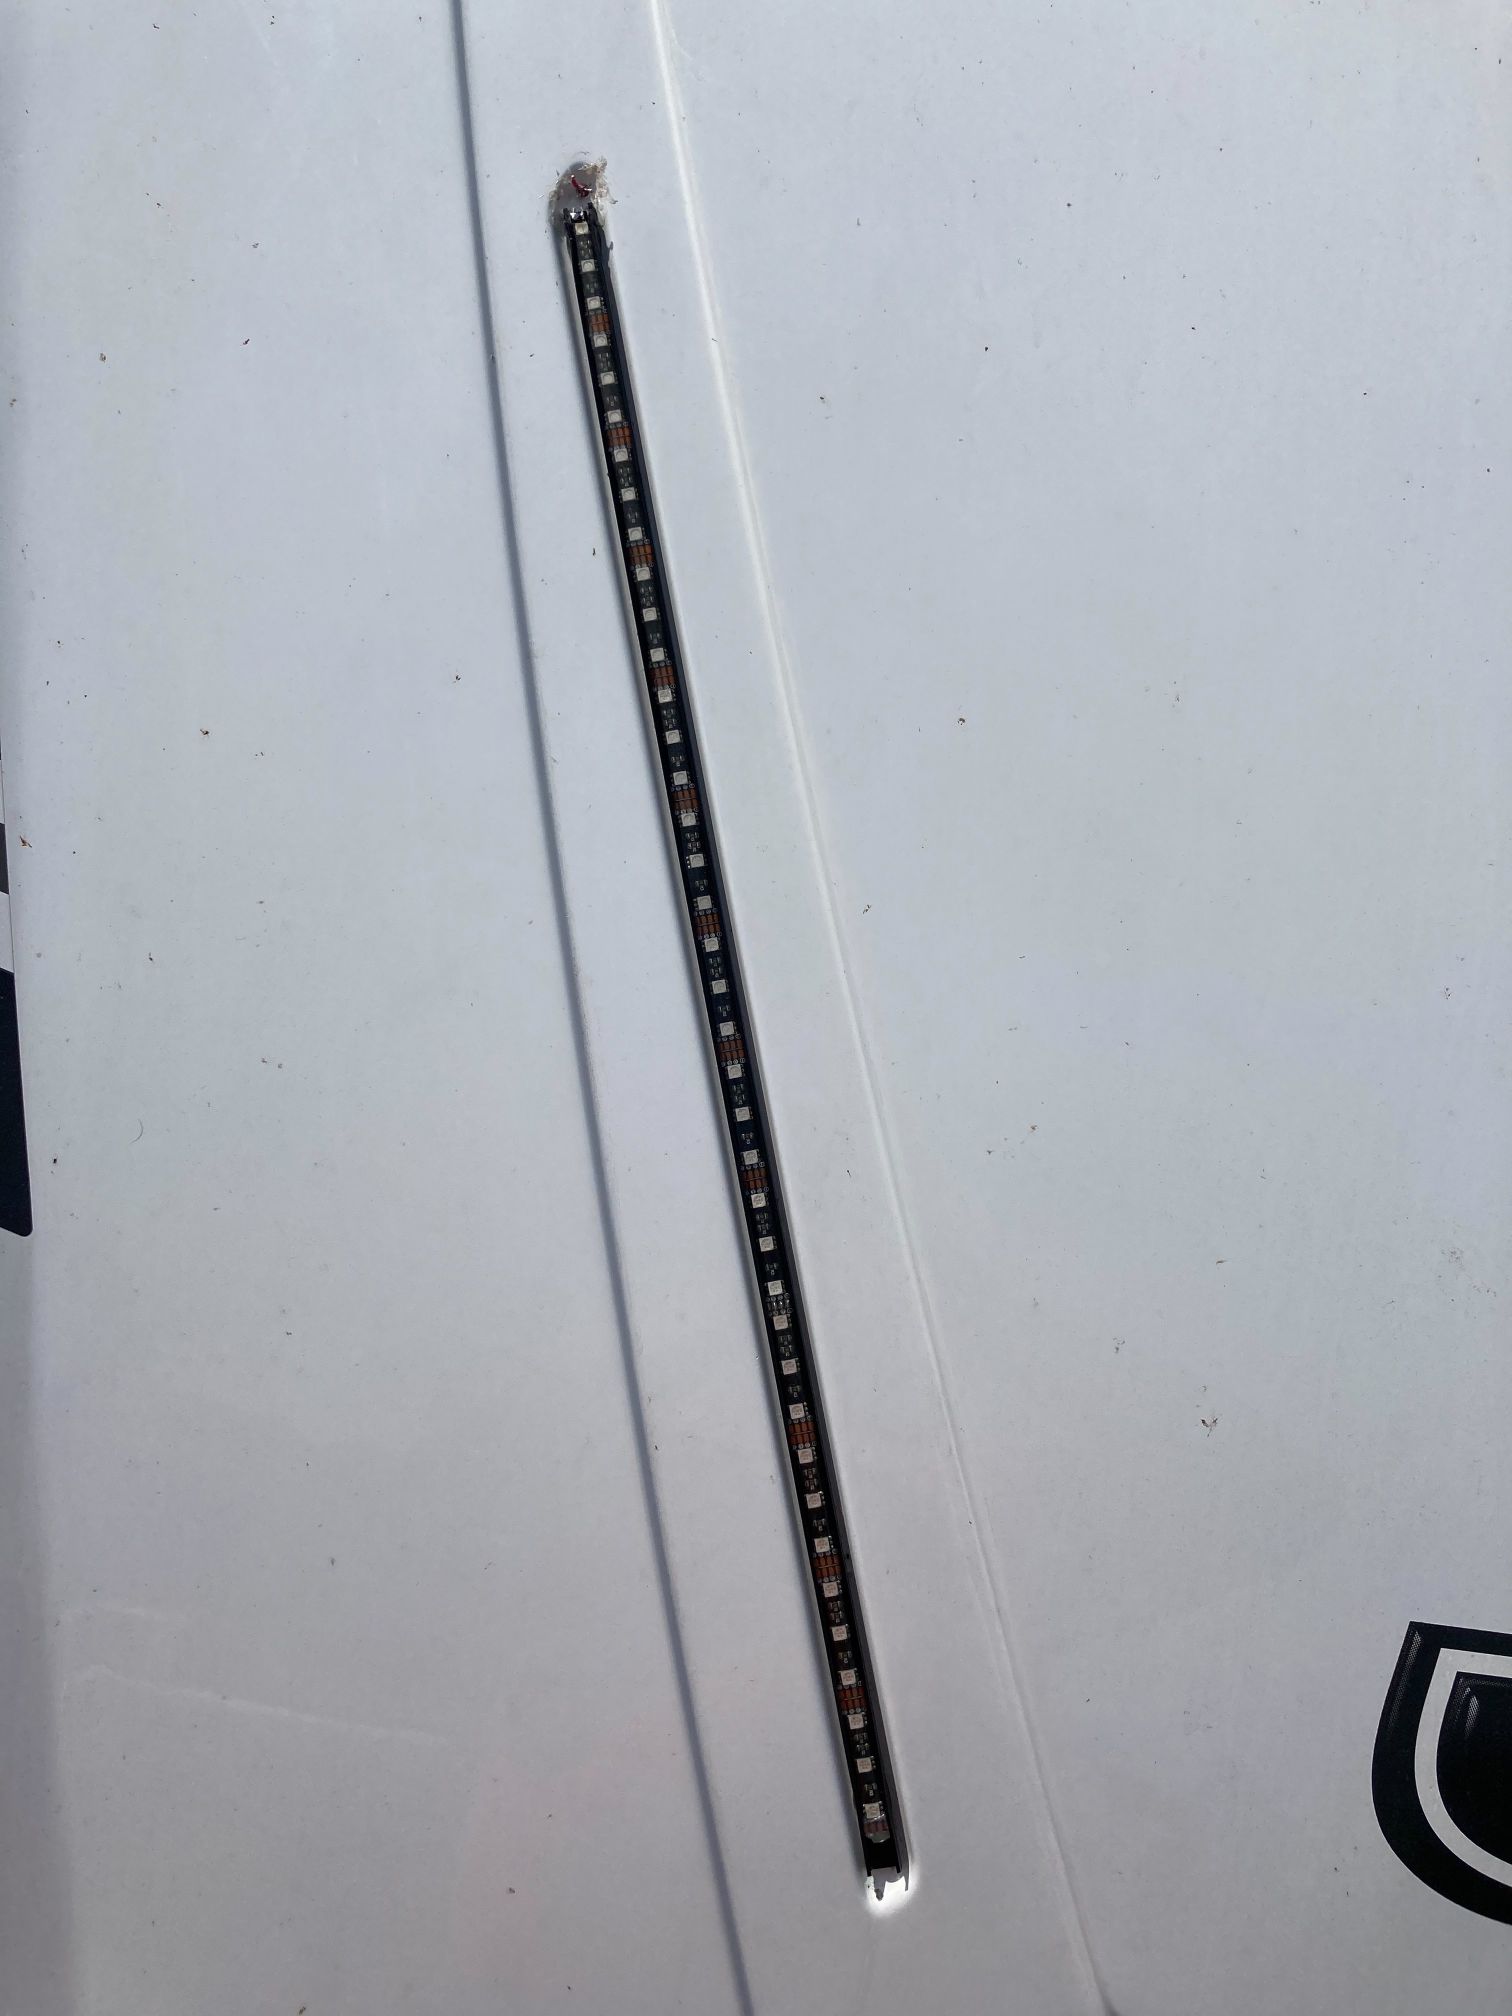
I cleaned the tray with an alcohol prep pad. This removed any grime and oils left behind and would help the 3M adhesive stick.
 I left the 3M adhesive unexposed and installed the strip. This is a second dry fit test with a power check. I carefully connected the positive and negative leads and powered up the strip. Extra bonus: the BoogeyLight strip fits snugly into the groove of the factory wiring tray which means the strip will be secured via the 3M adhesive and by locking in place.
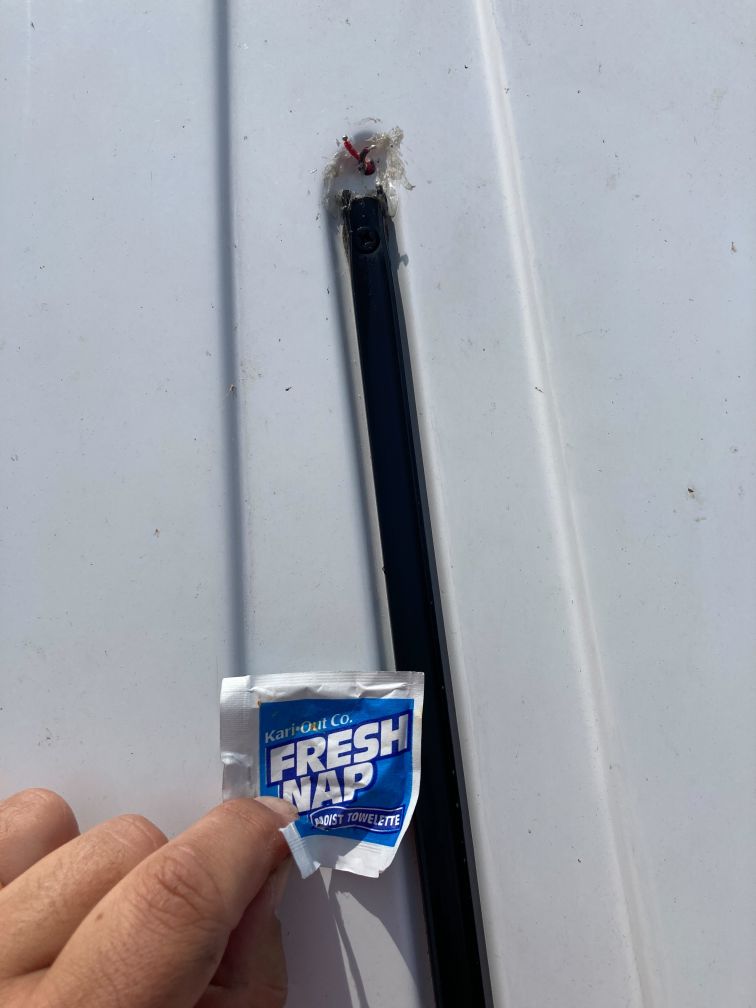
 Look at that terrible goop. I couldn’t get it fully removed.
Once I was satisfied with the fit, I lifted the strip out of the tray, removed the red adhesive protector, and firmly pressed the strip in place this time permanently securing the strip to the tray.
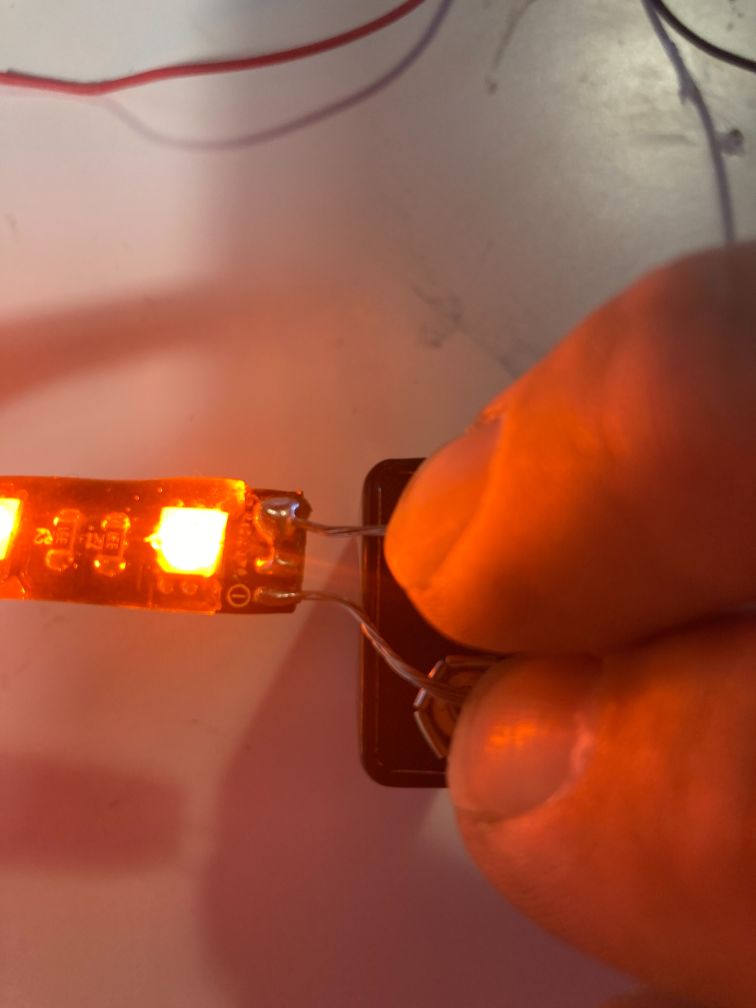
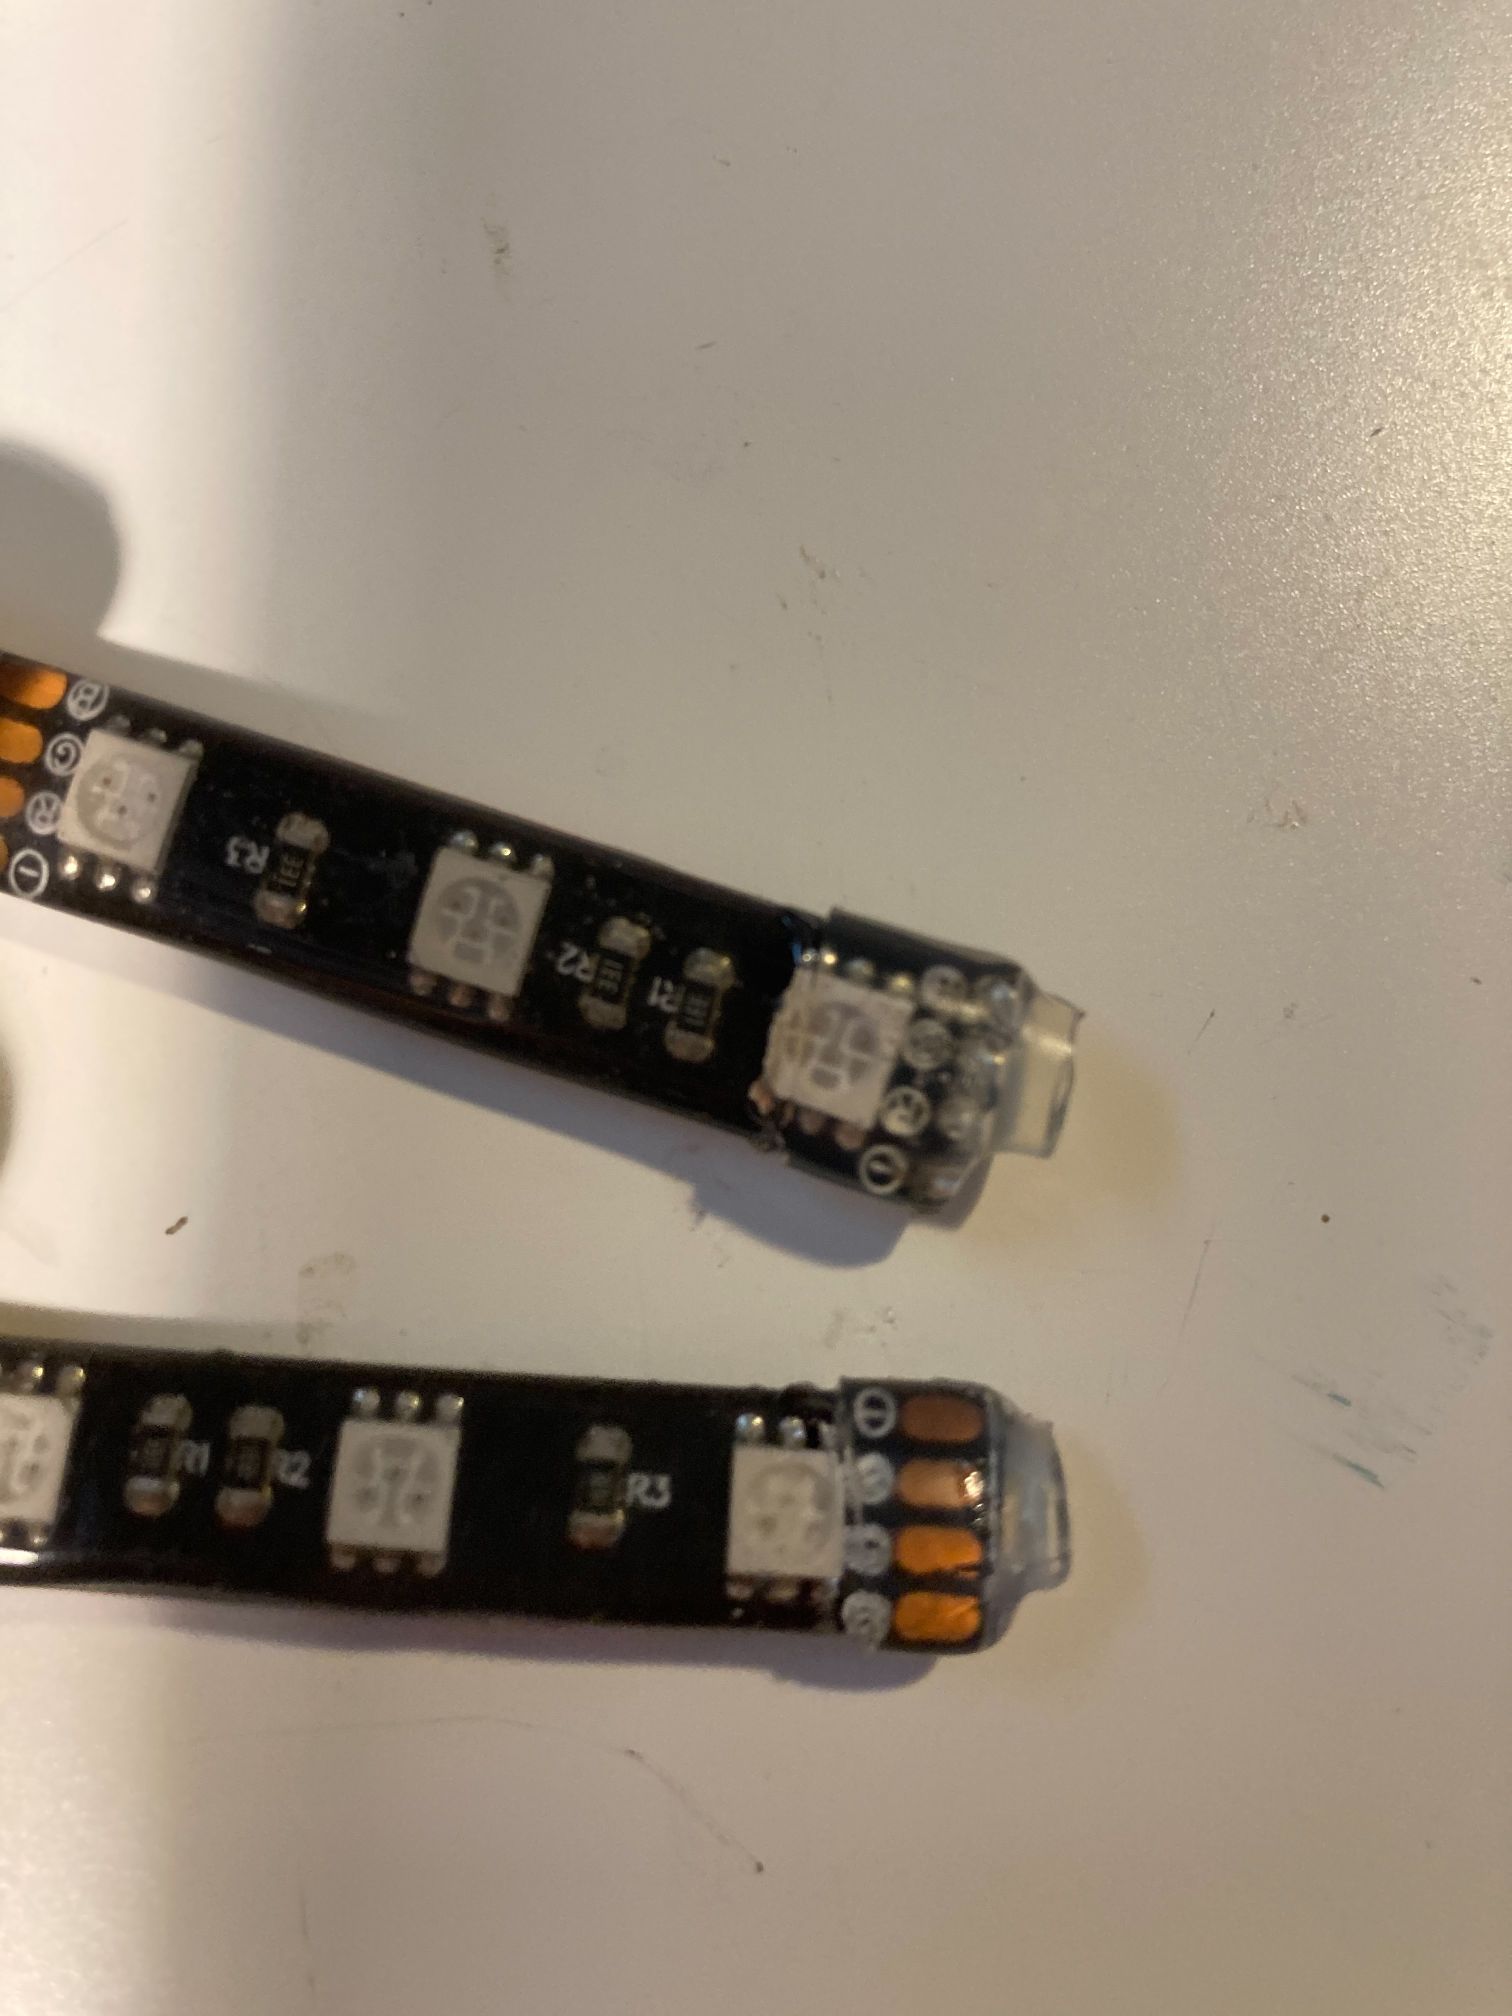
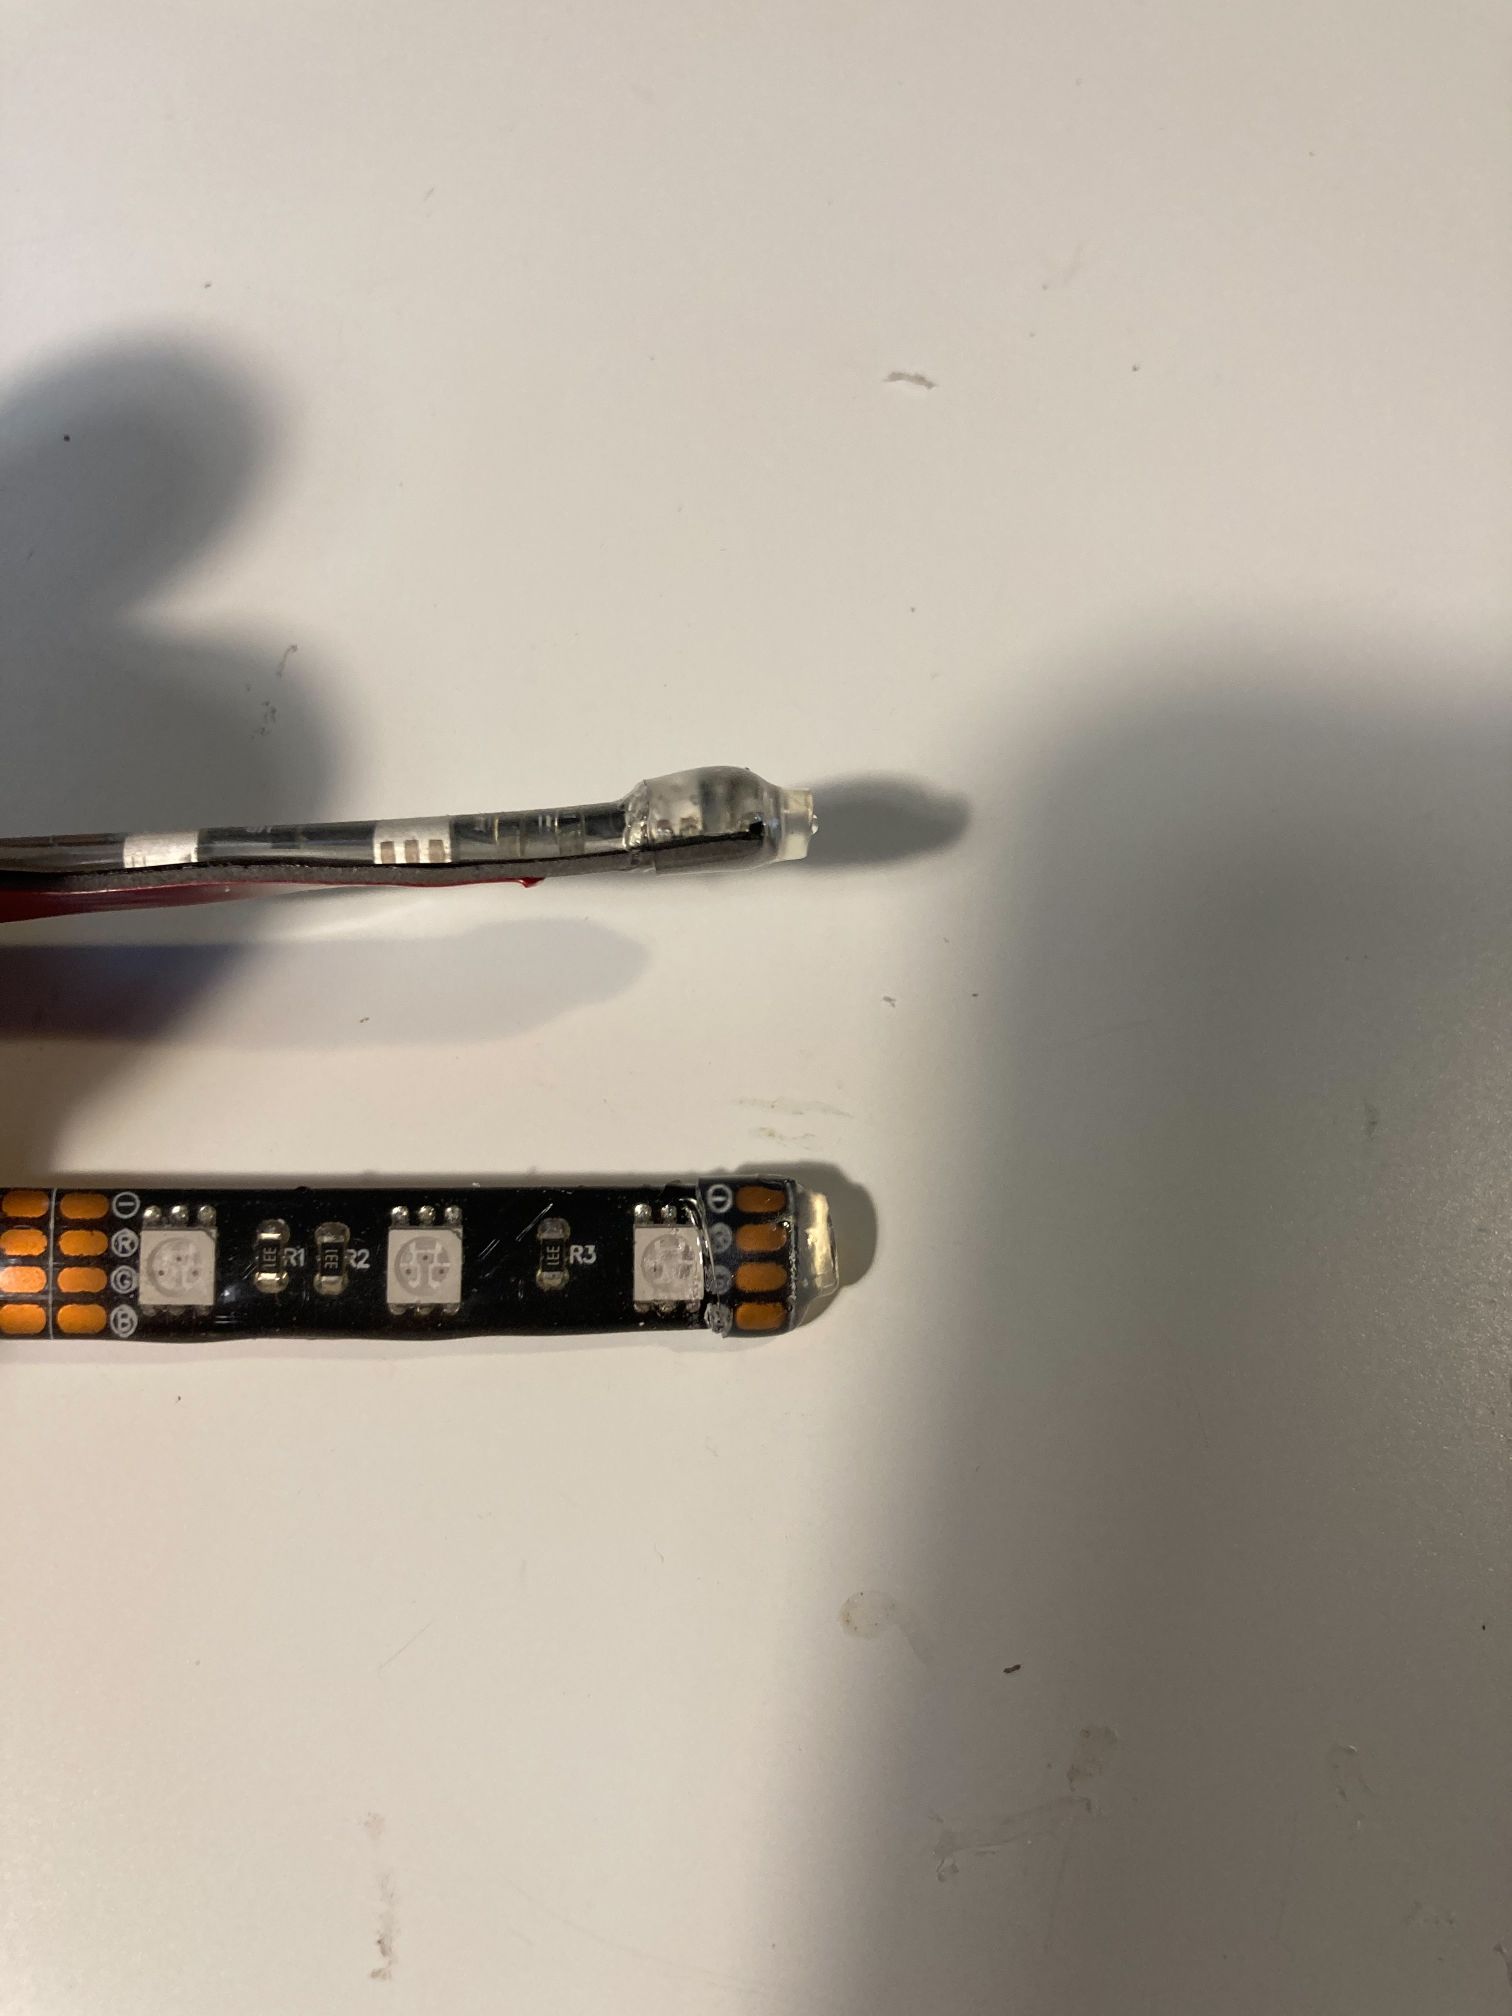
 I don’t have any soldering pics because I was too busy holding the soldering gun, flat blade screw driver, and solder spool. I do have this pic of the exposed PCB board next to the BoogeyLight rubber cover that I had to remove. You can see on the top strip where the positive wire (three exposed R G B ends) and the negative wire (single end at the top) would be connected.
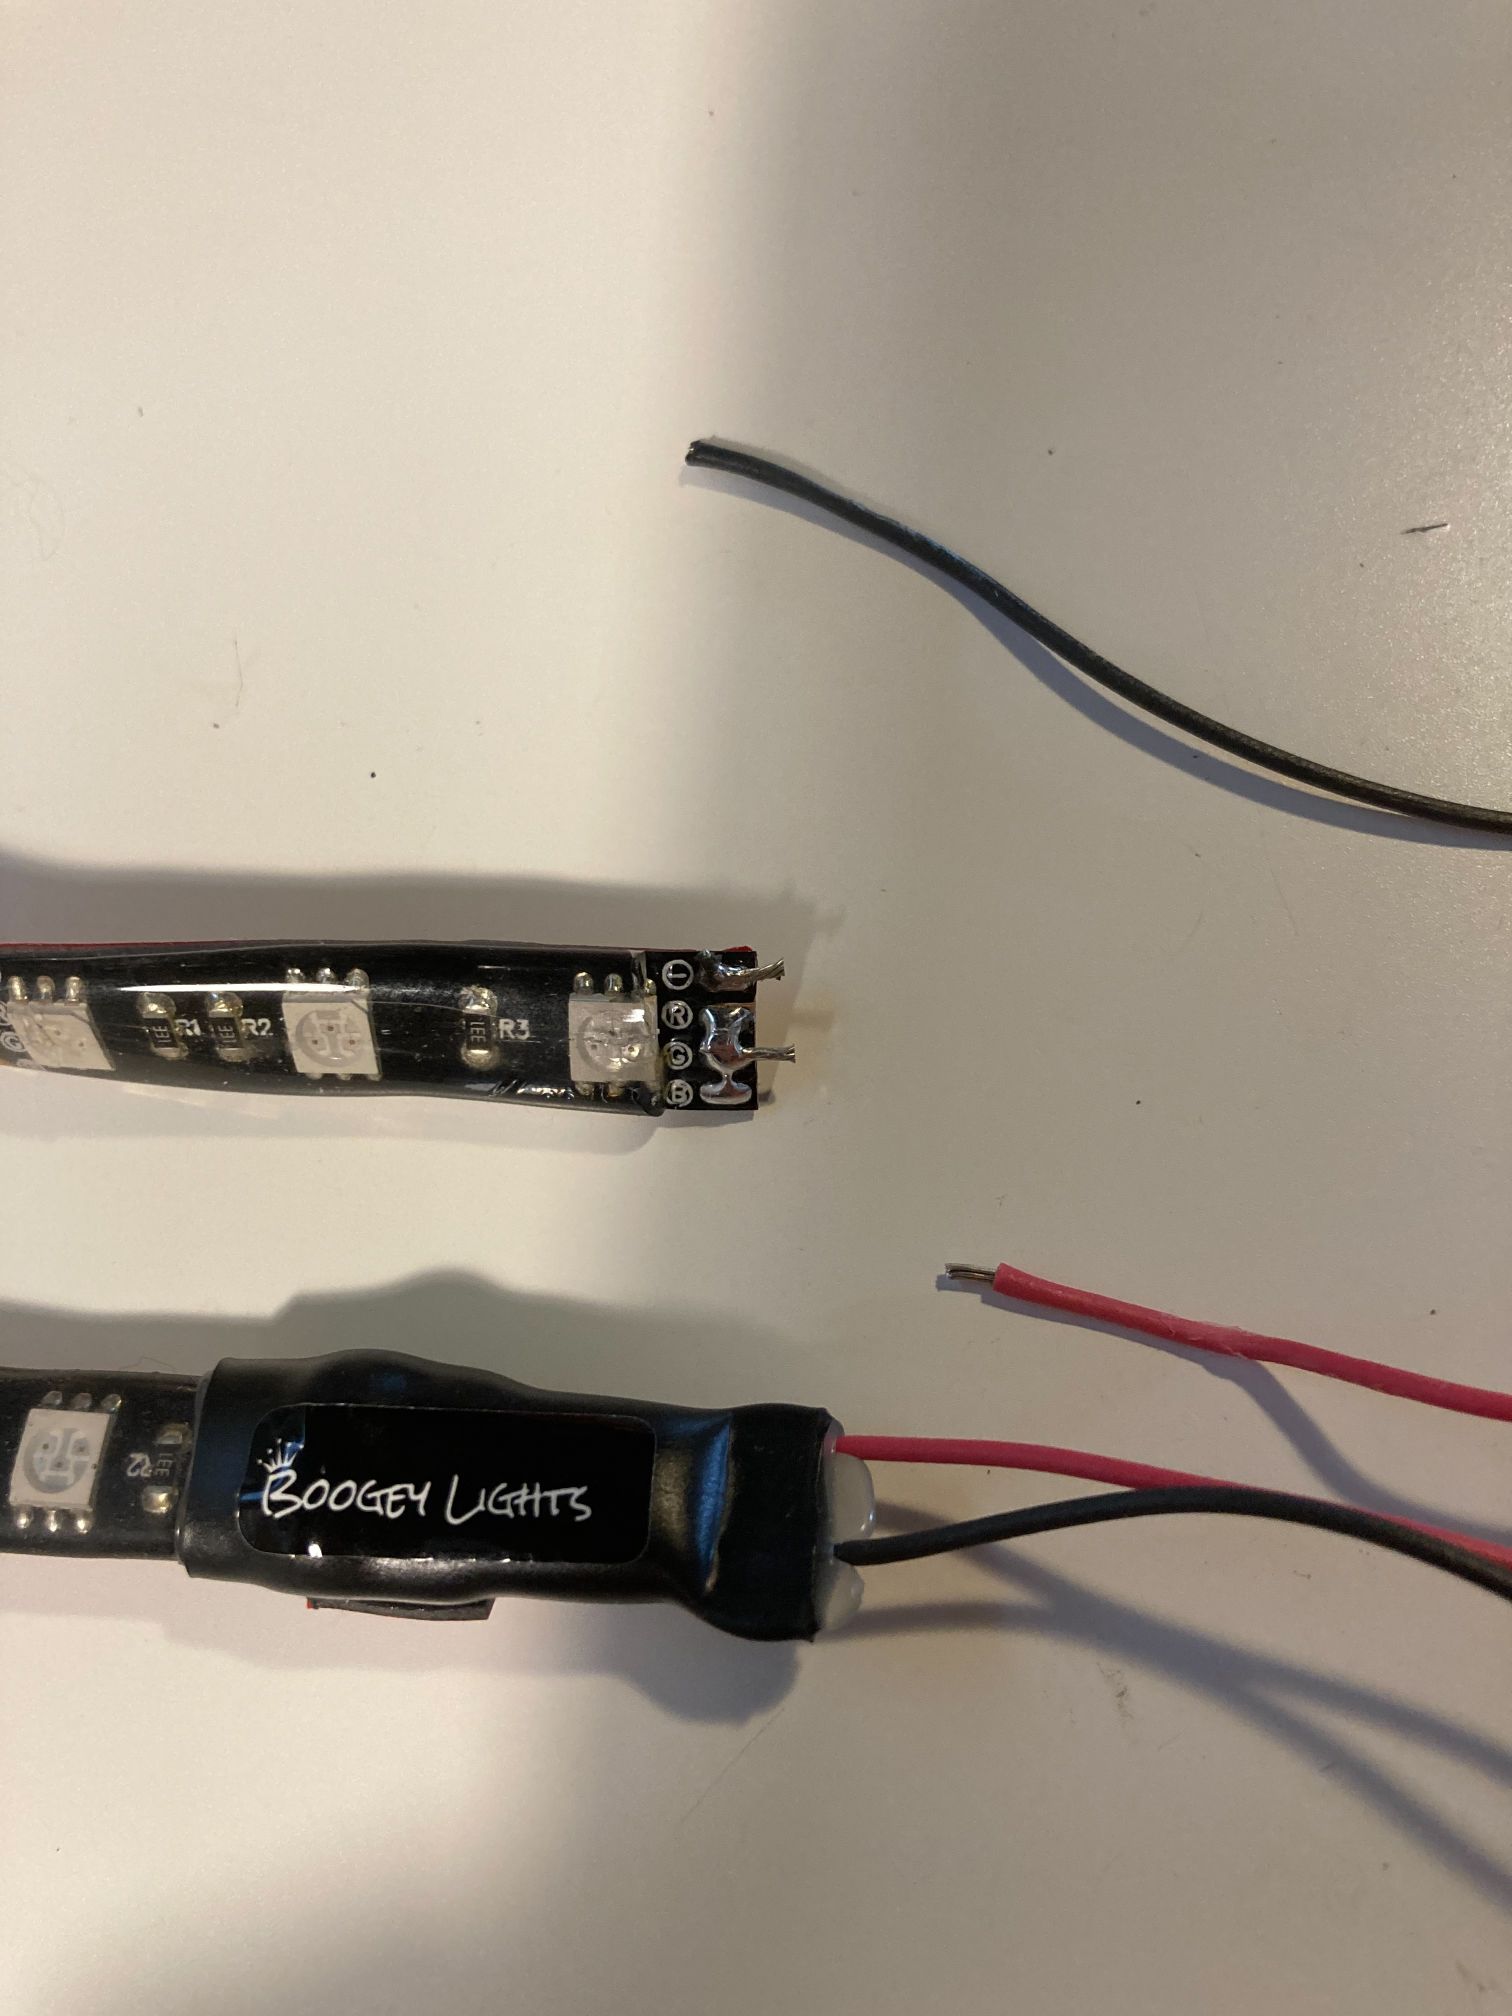 When you solder LED strips, or any small electrical component, you have to find the exact balance between heat and time. Too much heat and time and you’ll end up de-soldering the factory connection on the new strip (not good!). Too little heat and time and you won’t have a solid connection. It isn’t rocket science, but it does take patience and a steady hand. I could have used wire splices if I had a few tiny ones in my inventory, but I went the solder route for stability and appearance.
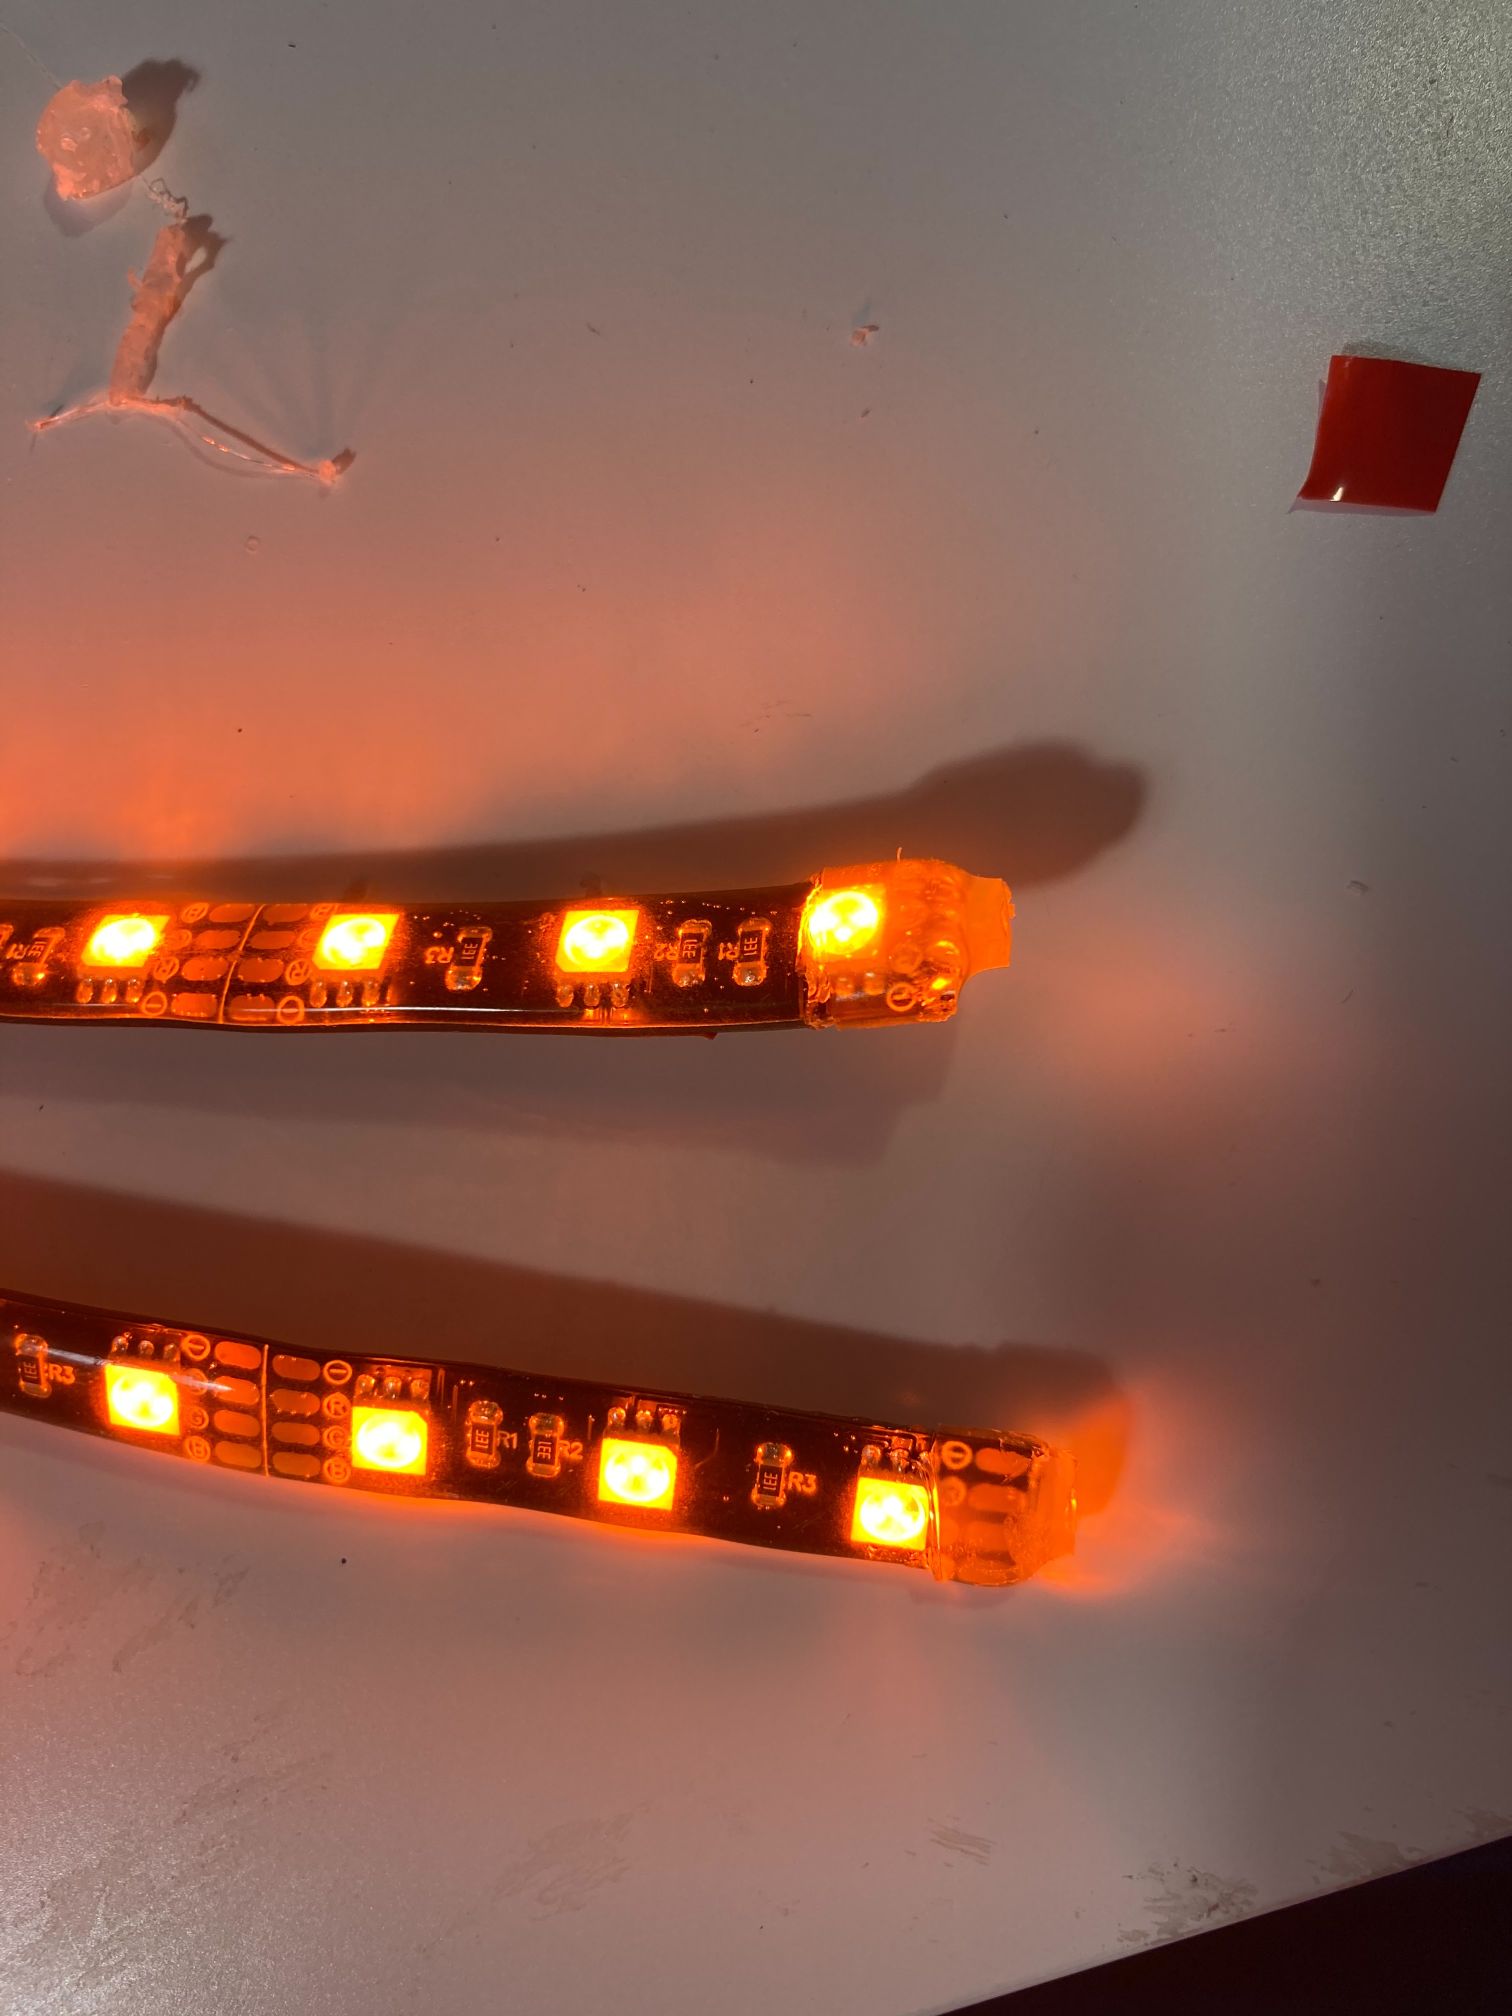
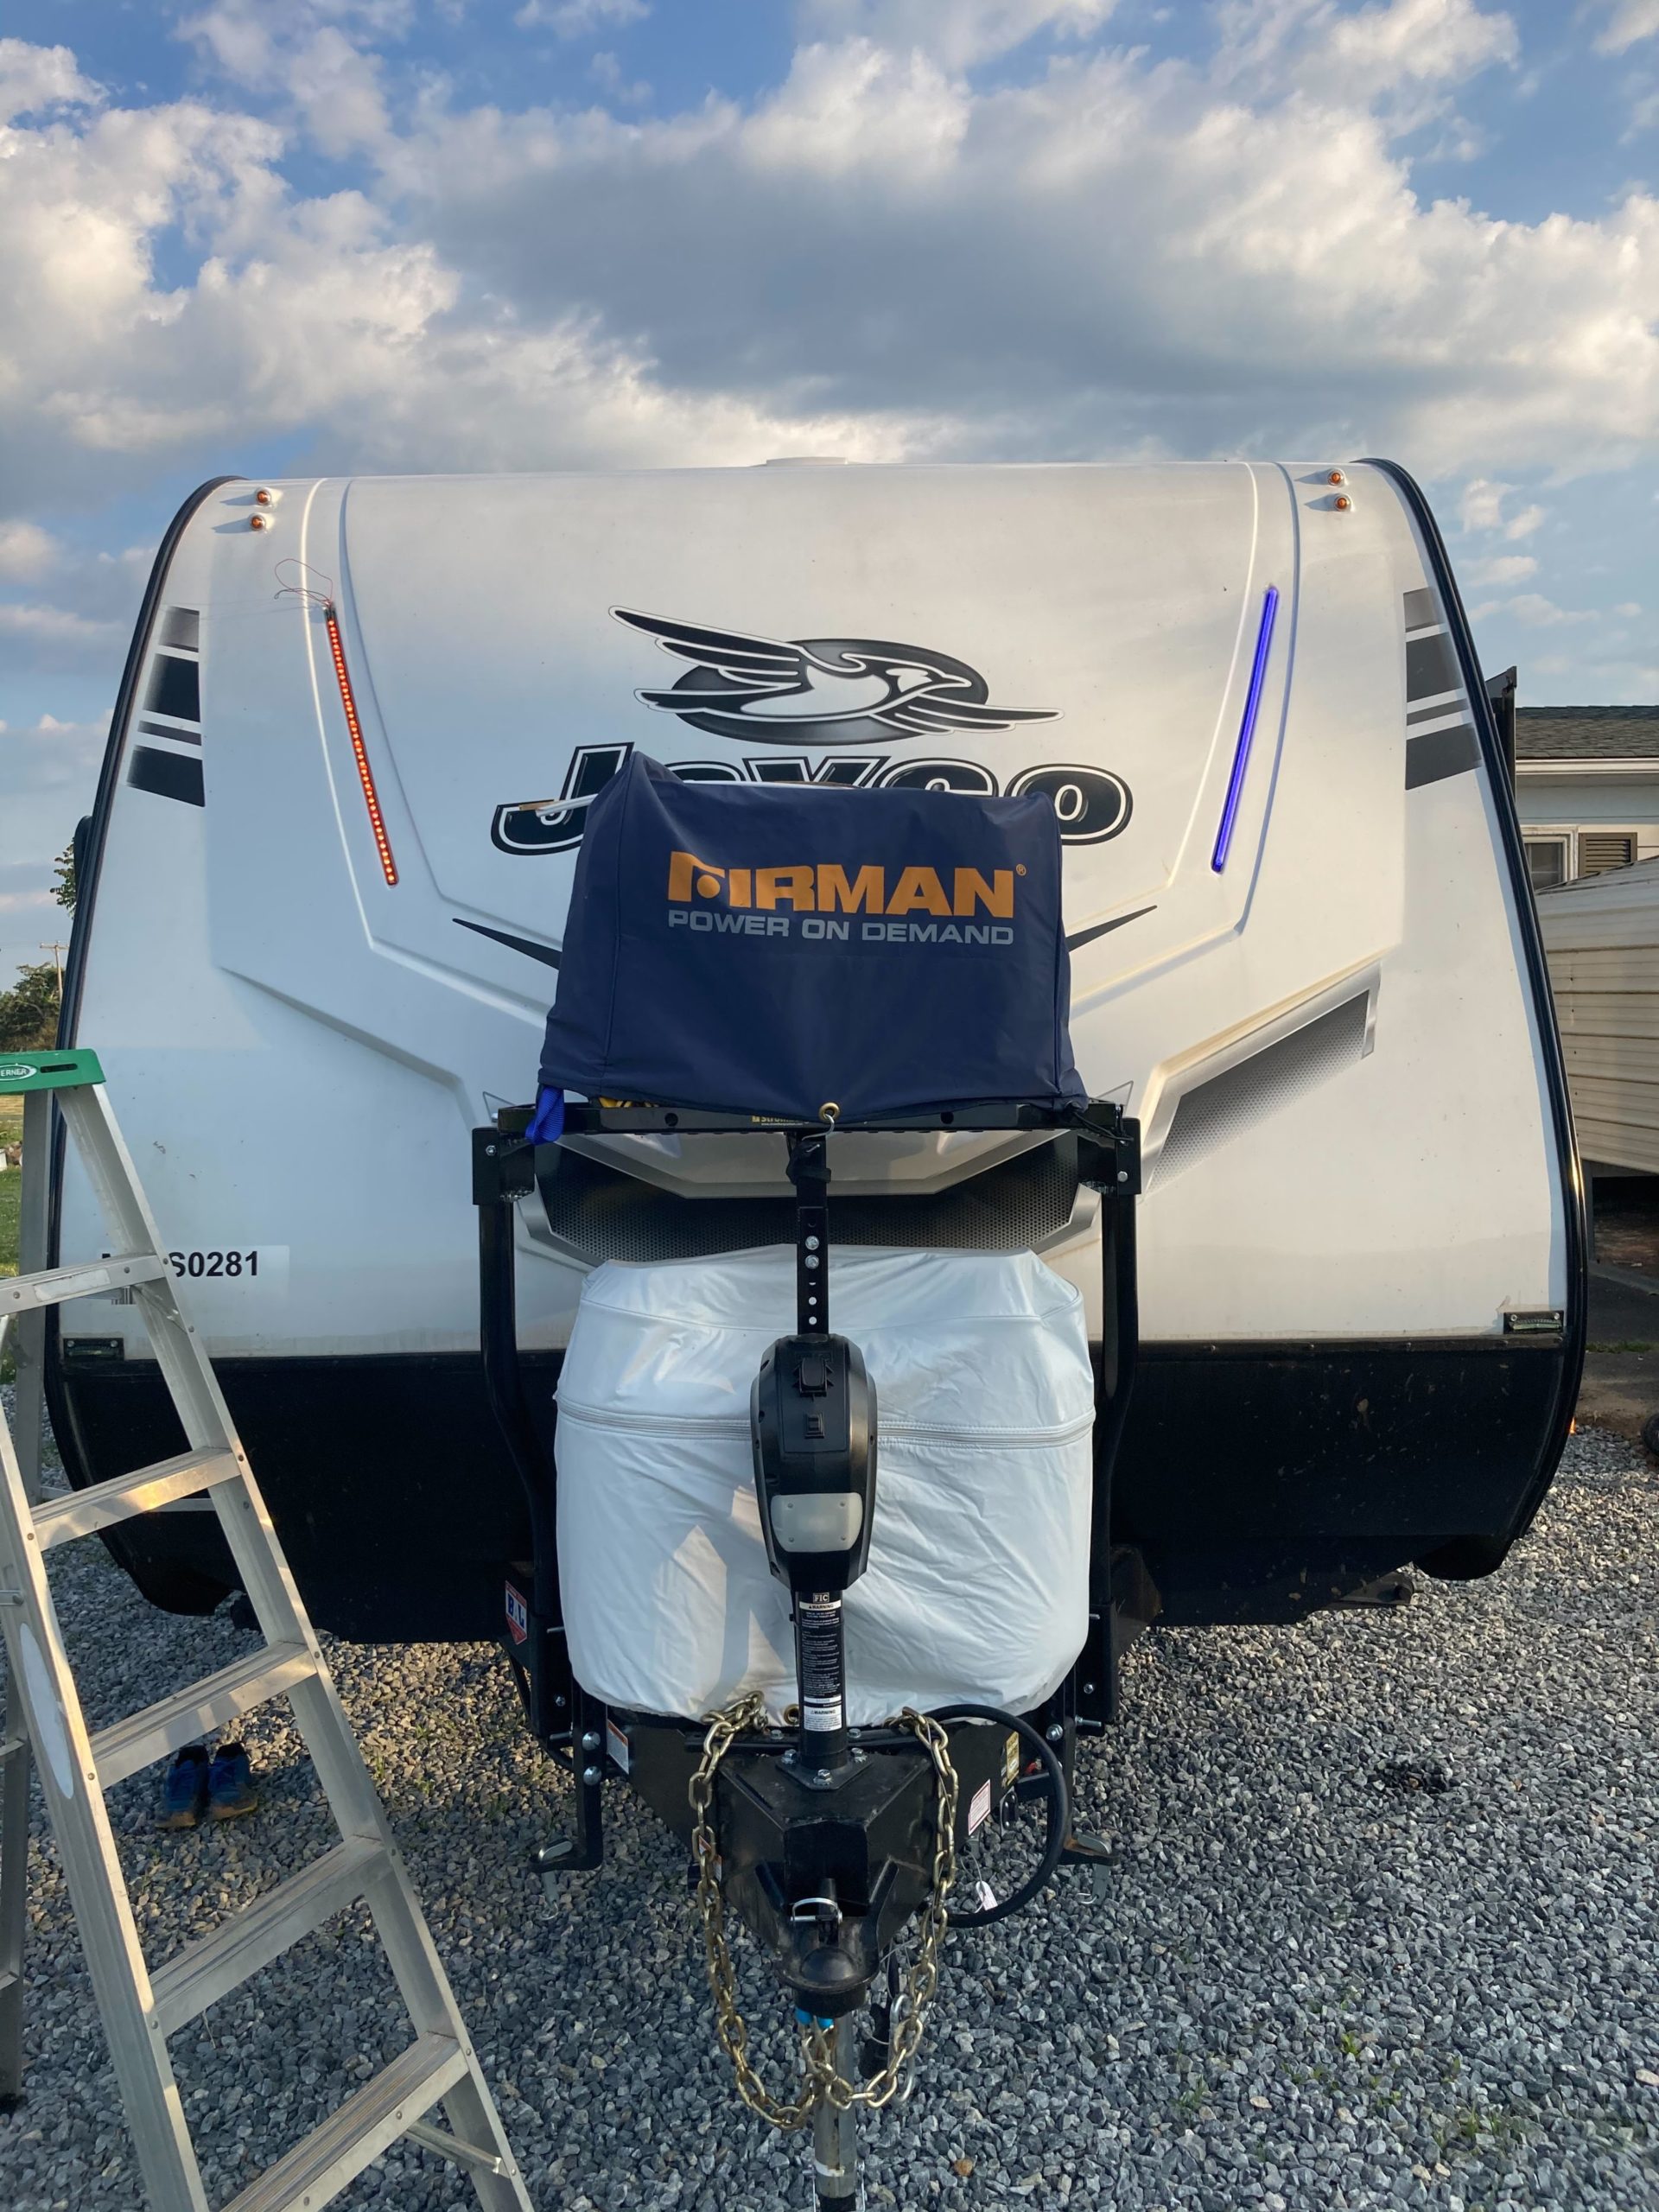
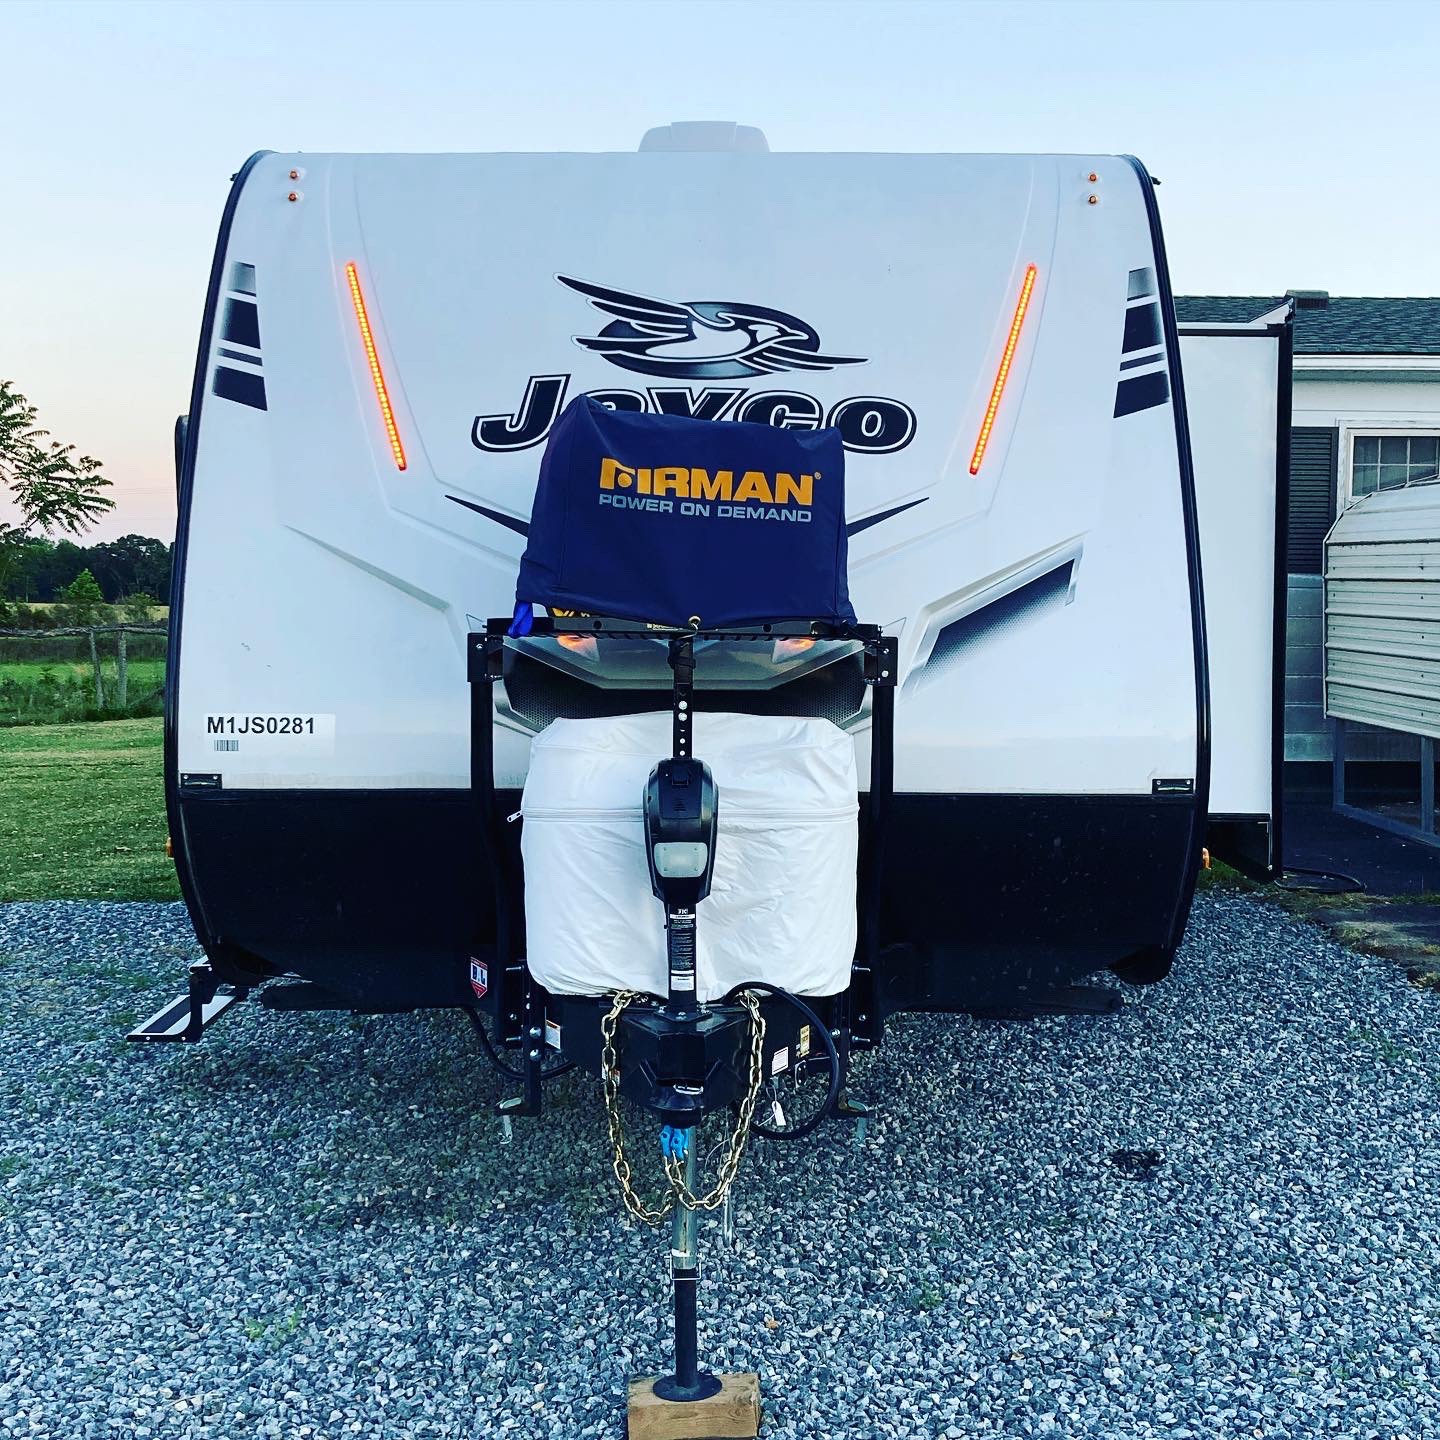
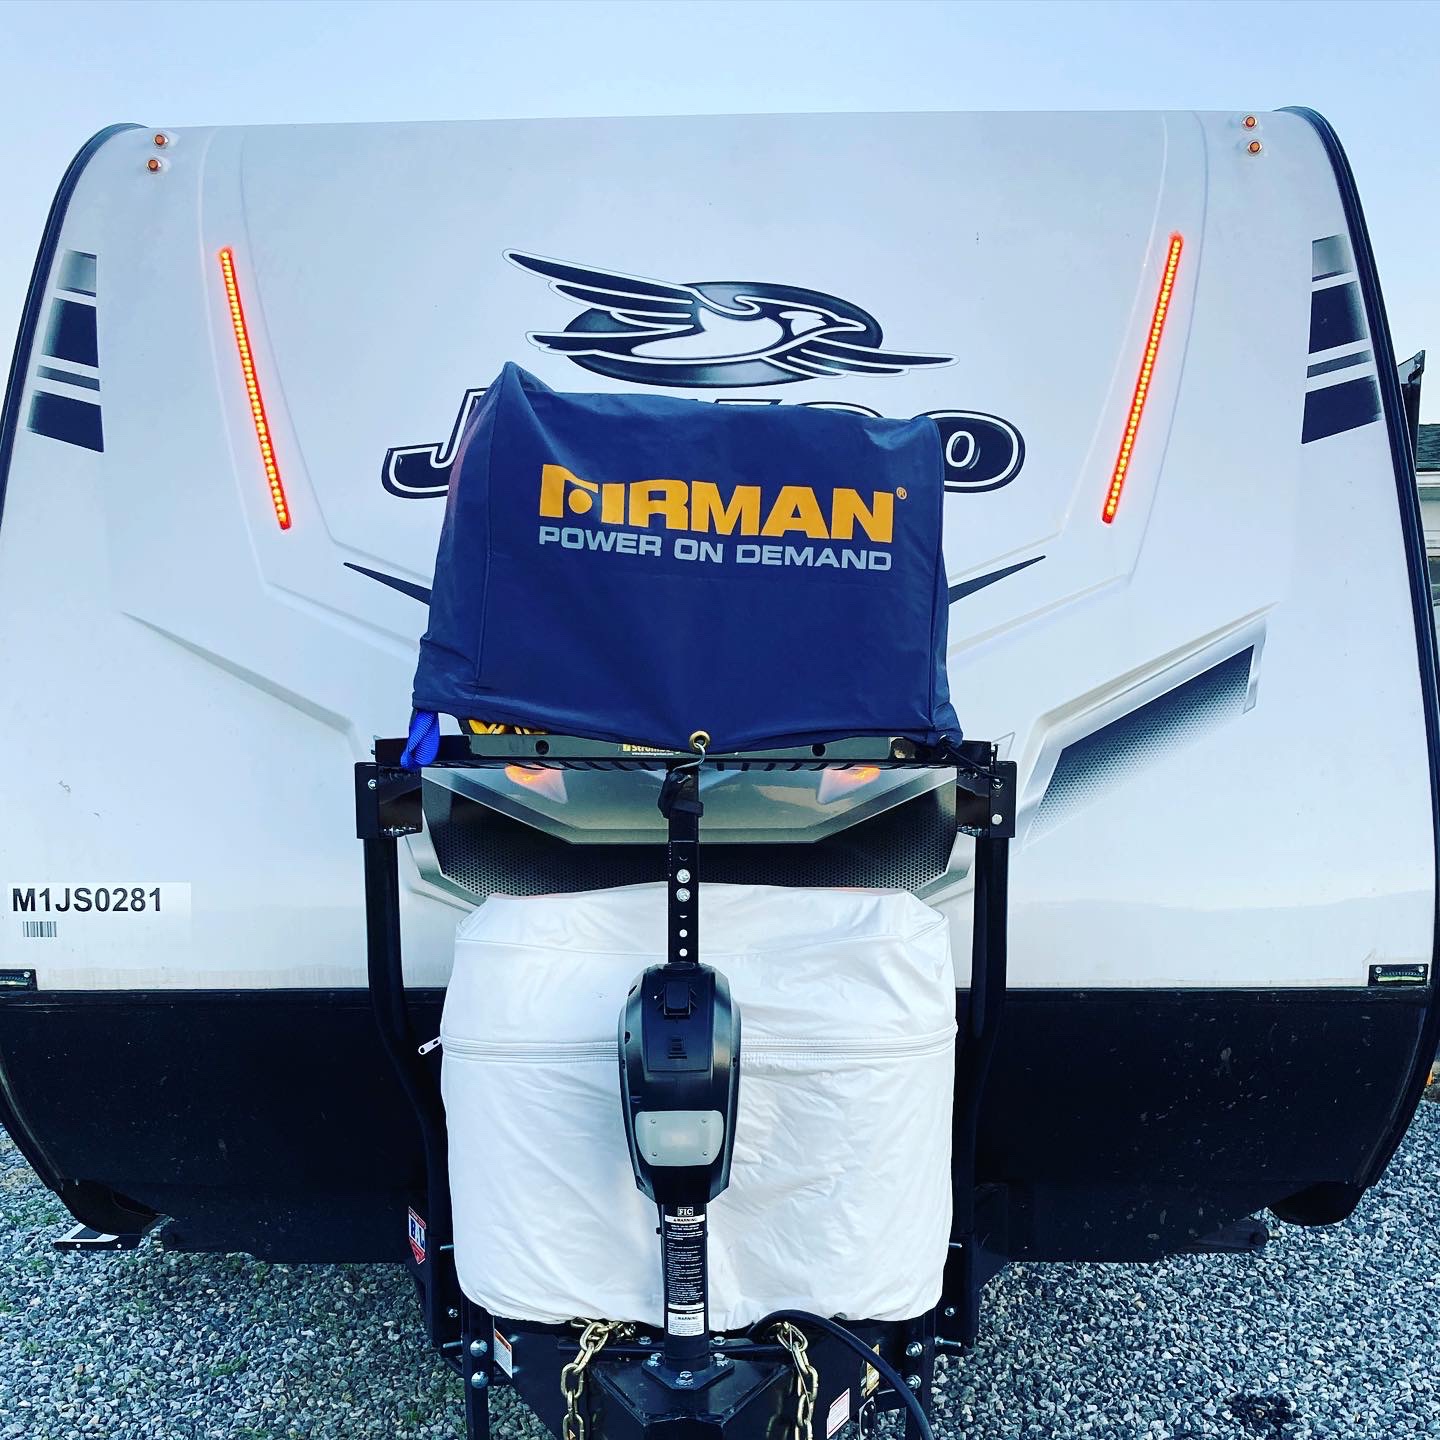
I took a step back and powered on the new strip next to the old strip. Really happy with the new look.
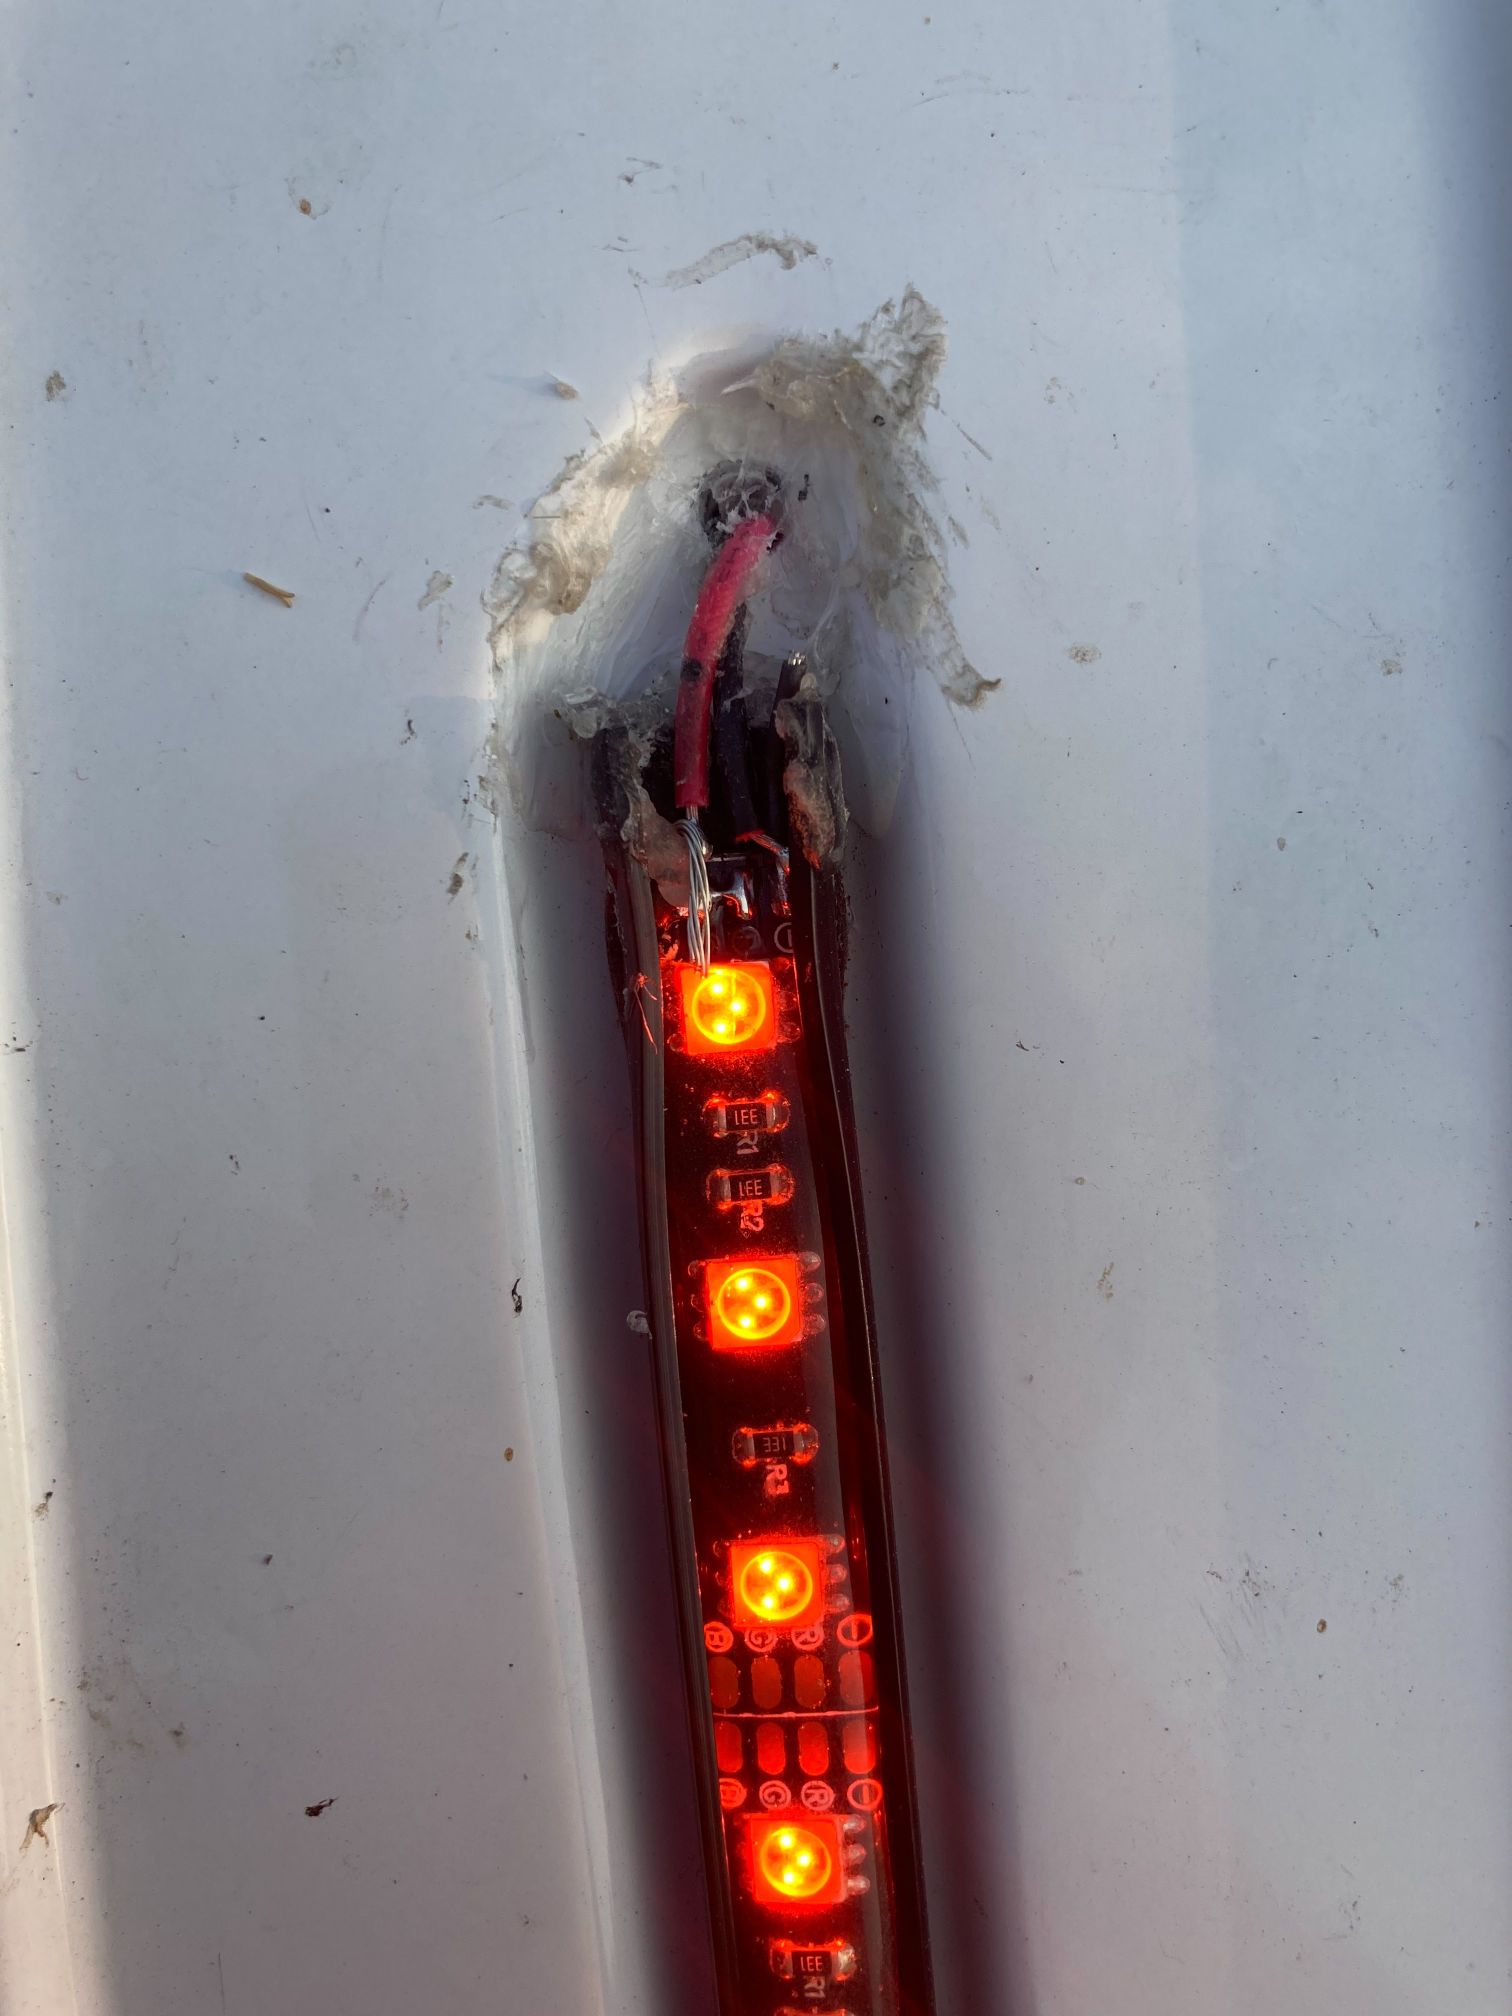
I repeated the process on the other side of the travel trailer. Once I made all my connections, I powered on and tested for functionality. Then I used clear silicon to seal up the hole and exposed soldered ends and let that dry for a bit.
 All in all, this probably took me about 1 1/2 hours. I didn’t want to rush it and I dry fit and tested multiple times before I was sure I wanted to go a particular route.
The wife and I are happy with the finished result. Look for us driving down the highway as I haven’t see any other 24BH owners with non-blue front cap LEDs.

One thought on “Swapping the Jay Feather 24BH blue front cap LEDs with amber – Part 2”